HubSpot Integration
In this guide, you'll learn how to connect HubSpot to Master Inbox, authorize access, configure channel and event sync settings, and map labels so your CRM stays up to date automatically.
1. Open HubSpot Integration
In MasterInbox, navigate to Settings → Integrations → HubSpot

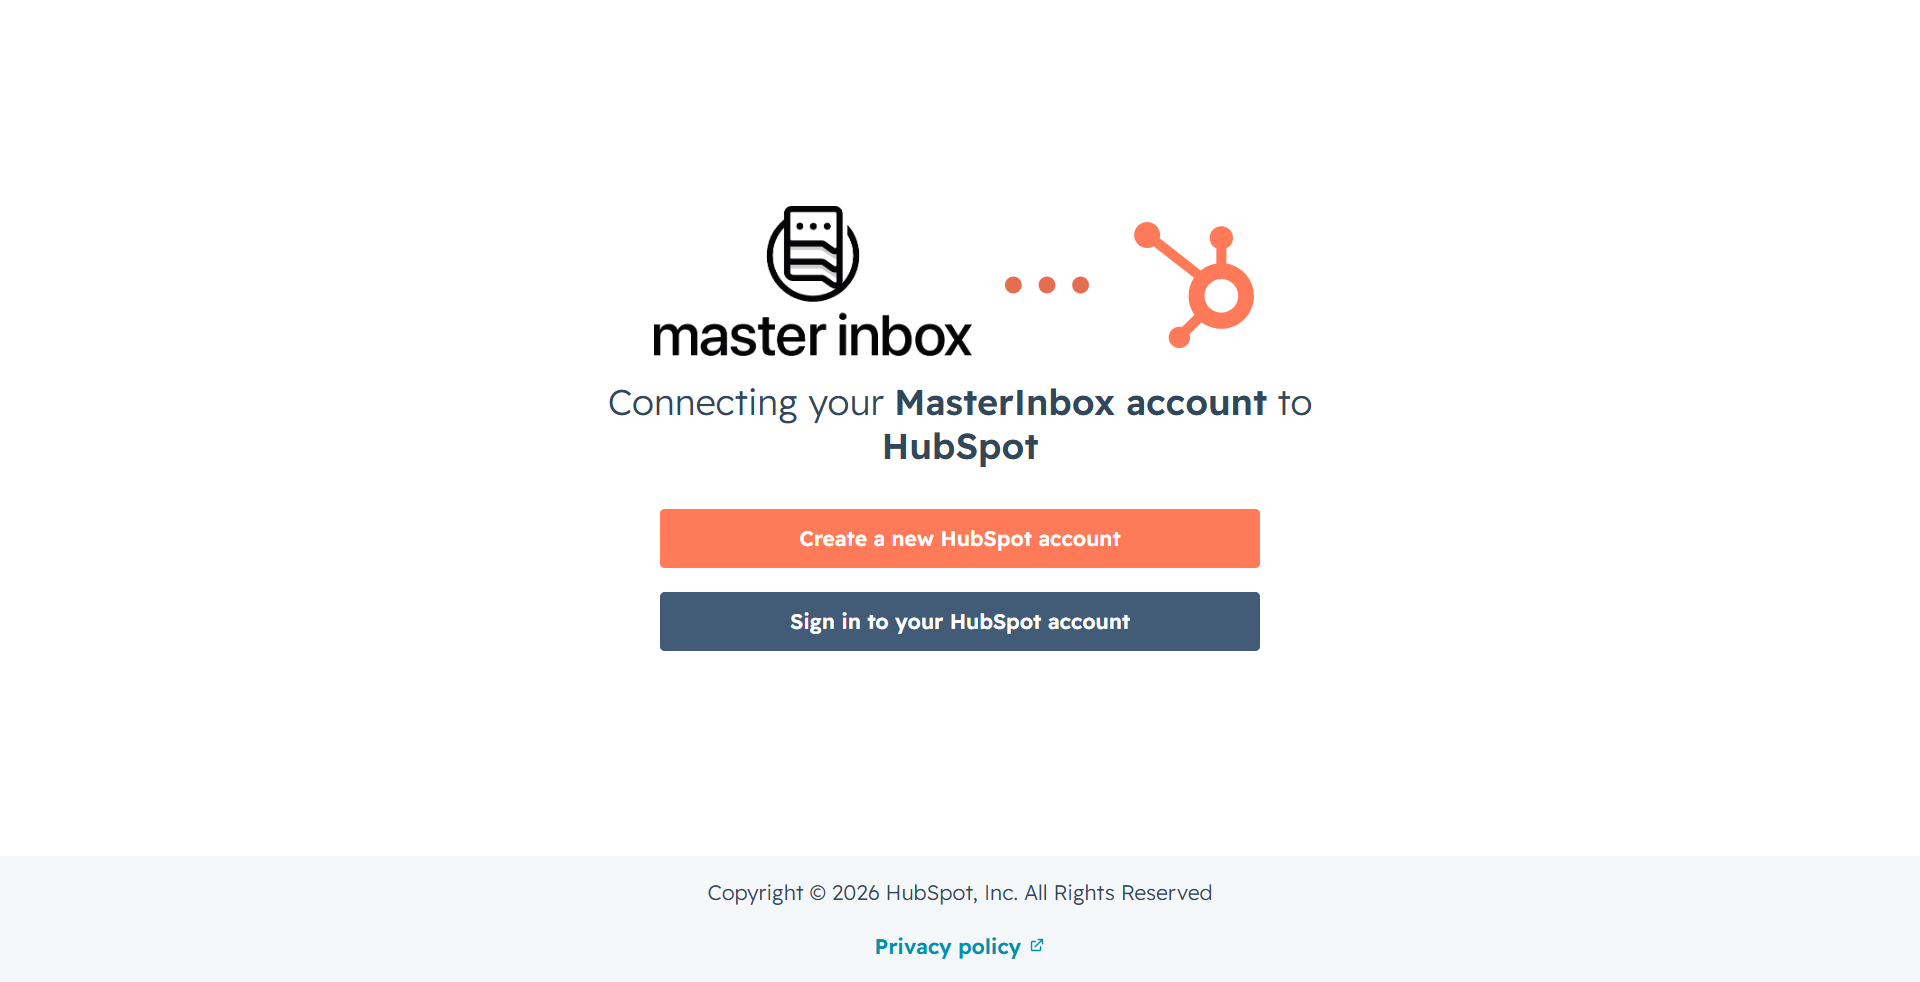
2. Choose Connection Type
You will see two options:
Create a new HubSpot account
Sign in to your existing HubSpot account
Select the option that applies to you.
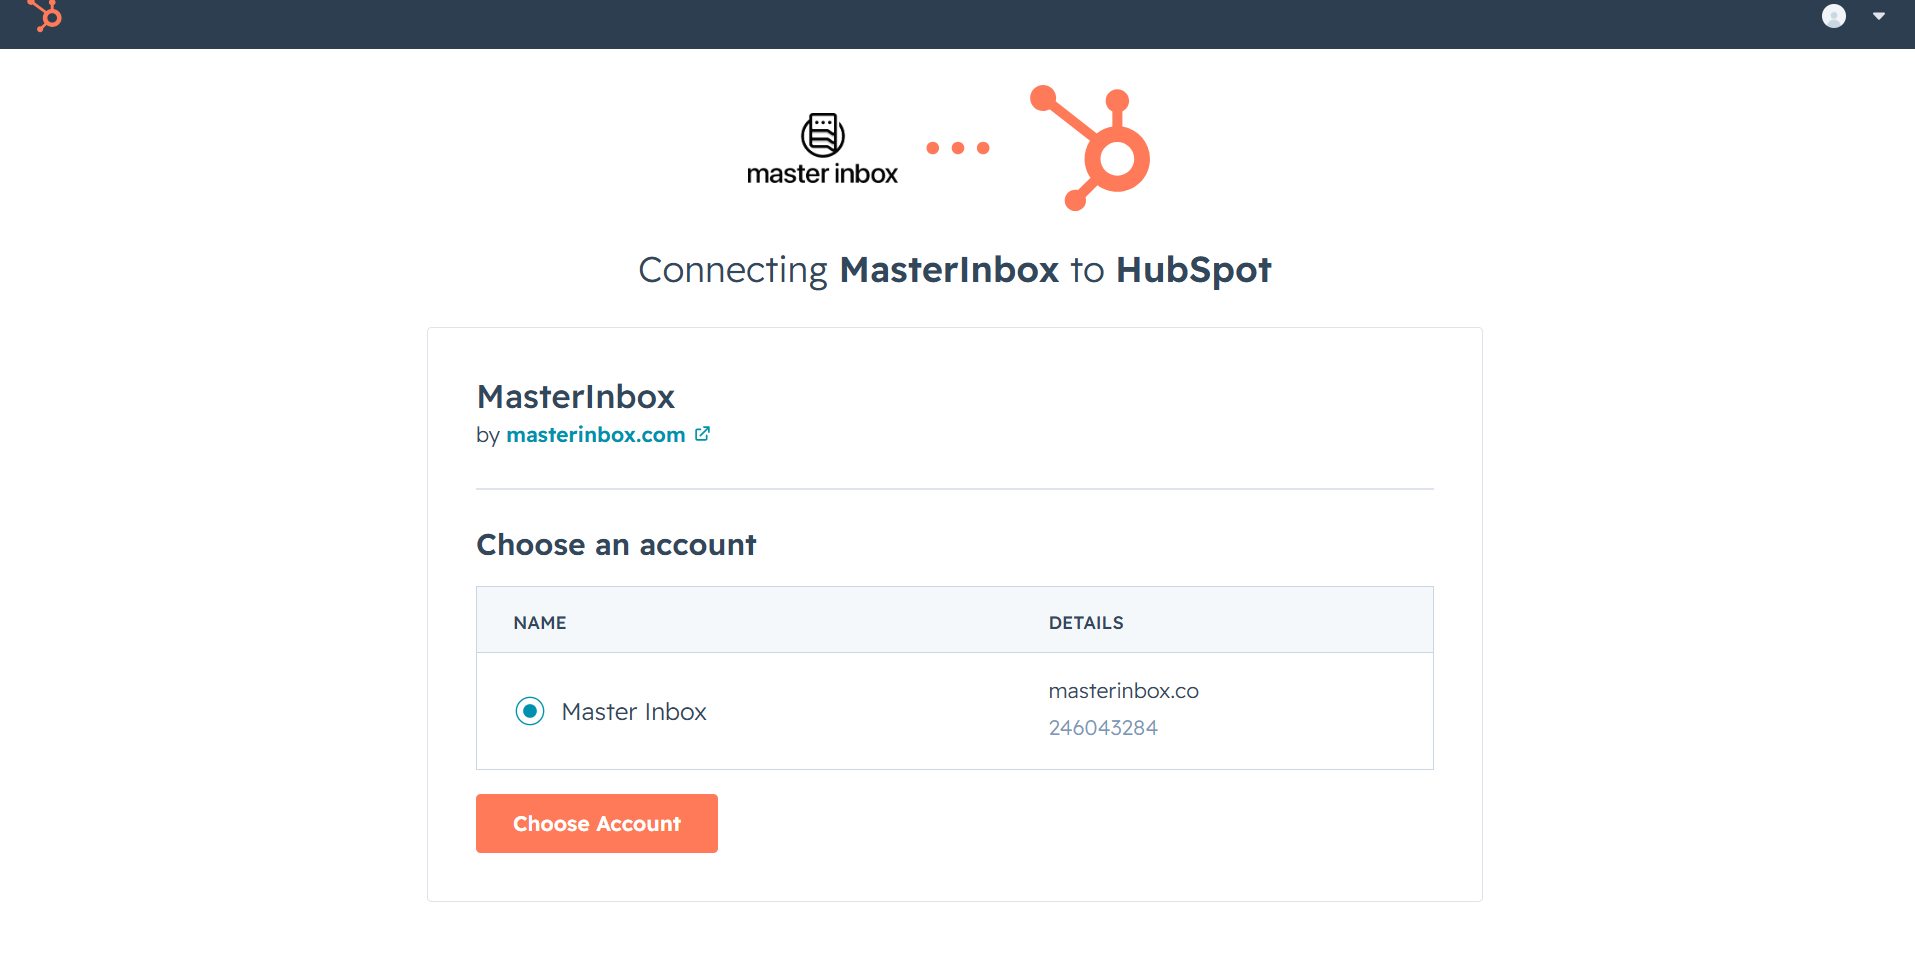
3. Select Your HubSpot Account
After choosing Sign in to your HubSpot account, you will be redirected to HubSpot to authenticate.
Once you sign in, you will see a screen to select an account.
You may see one or more HubSpot accounts listed (for example: Marsha and Books).
Select the correct account you want to connect with MasterInbox.
Then click Choose Account to continue.
HubSpot Sync Settings Screen
After successful connection, you’ll be redirected to the HubSpot Sync Settings inside MasterInbox.
This is where you control how Master Inbox and HubSpot communicate, including what data is shared, how contacts are handled, and how updates flow between both systems.
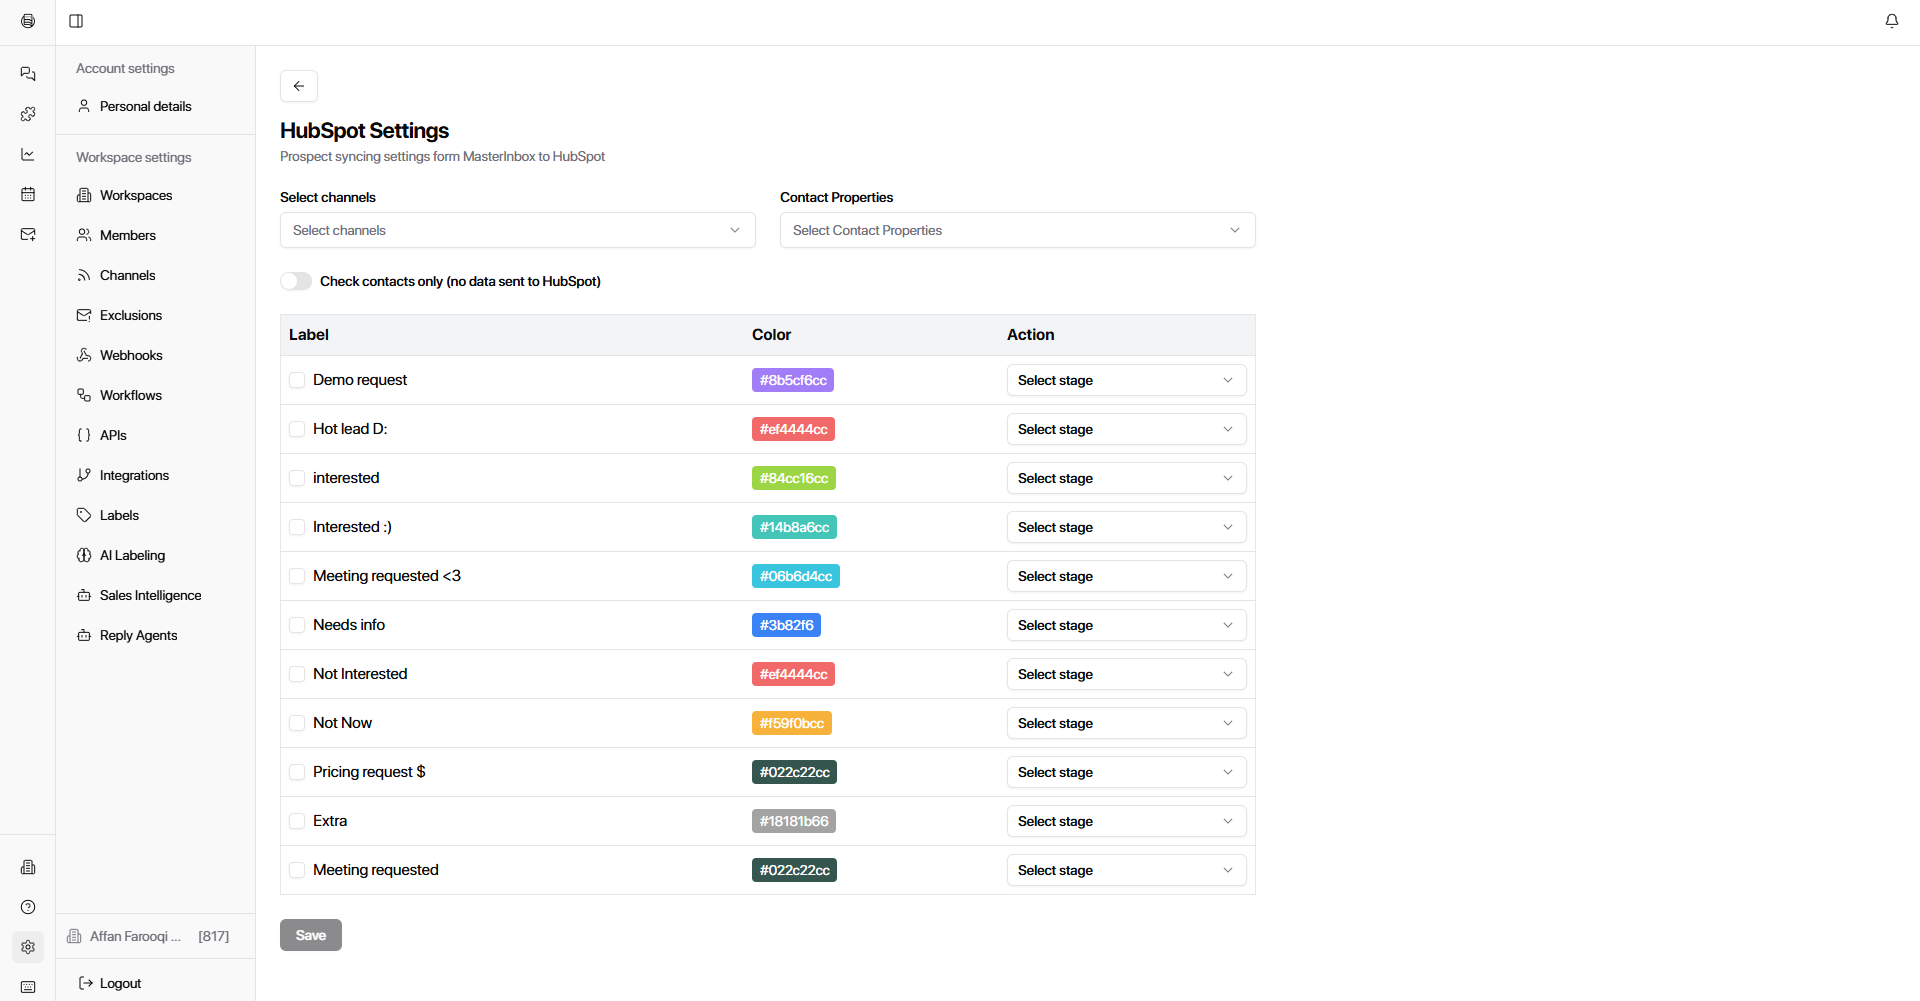
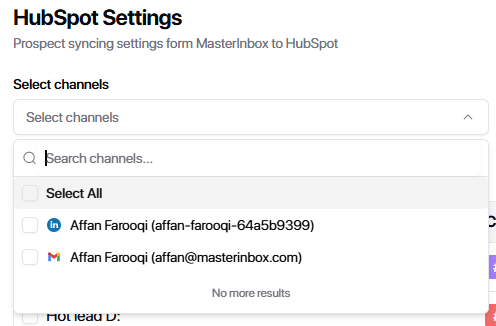
5.1 Channel Selection
Choose which channels should be associated with HubSpot syncing.
For example:
Gmail
Linkedin
You can select:
All channels or
Specific channels depending on your workflow
This determines what activity gets reflected back into HubSpot contact records.
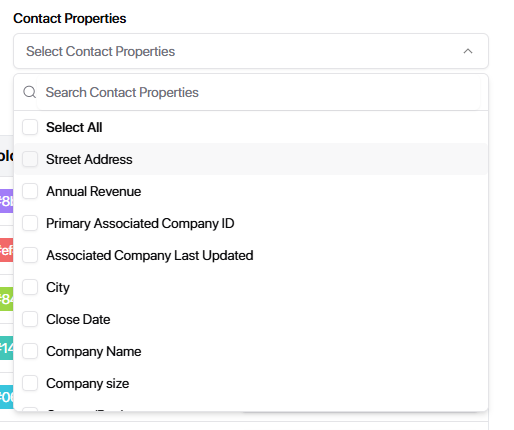
5.2 Contact Properties (Important Update)
Master Inbox now pulls HubSpot contact properties dynamically instead of using fixed fields.
This means:
More HubSpot fields are supported
Your existing HubSpot custom properties can be used
Future HubSpot changes won’t break the integration
This makes the integration future-proof and much more flexible for evolving CRM setups.
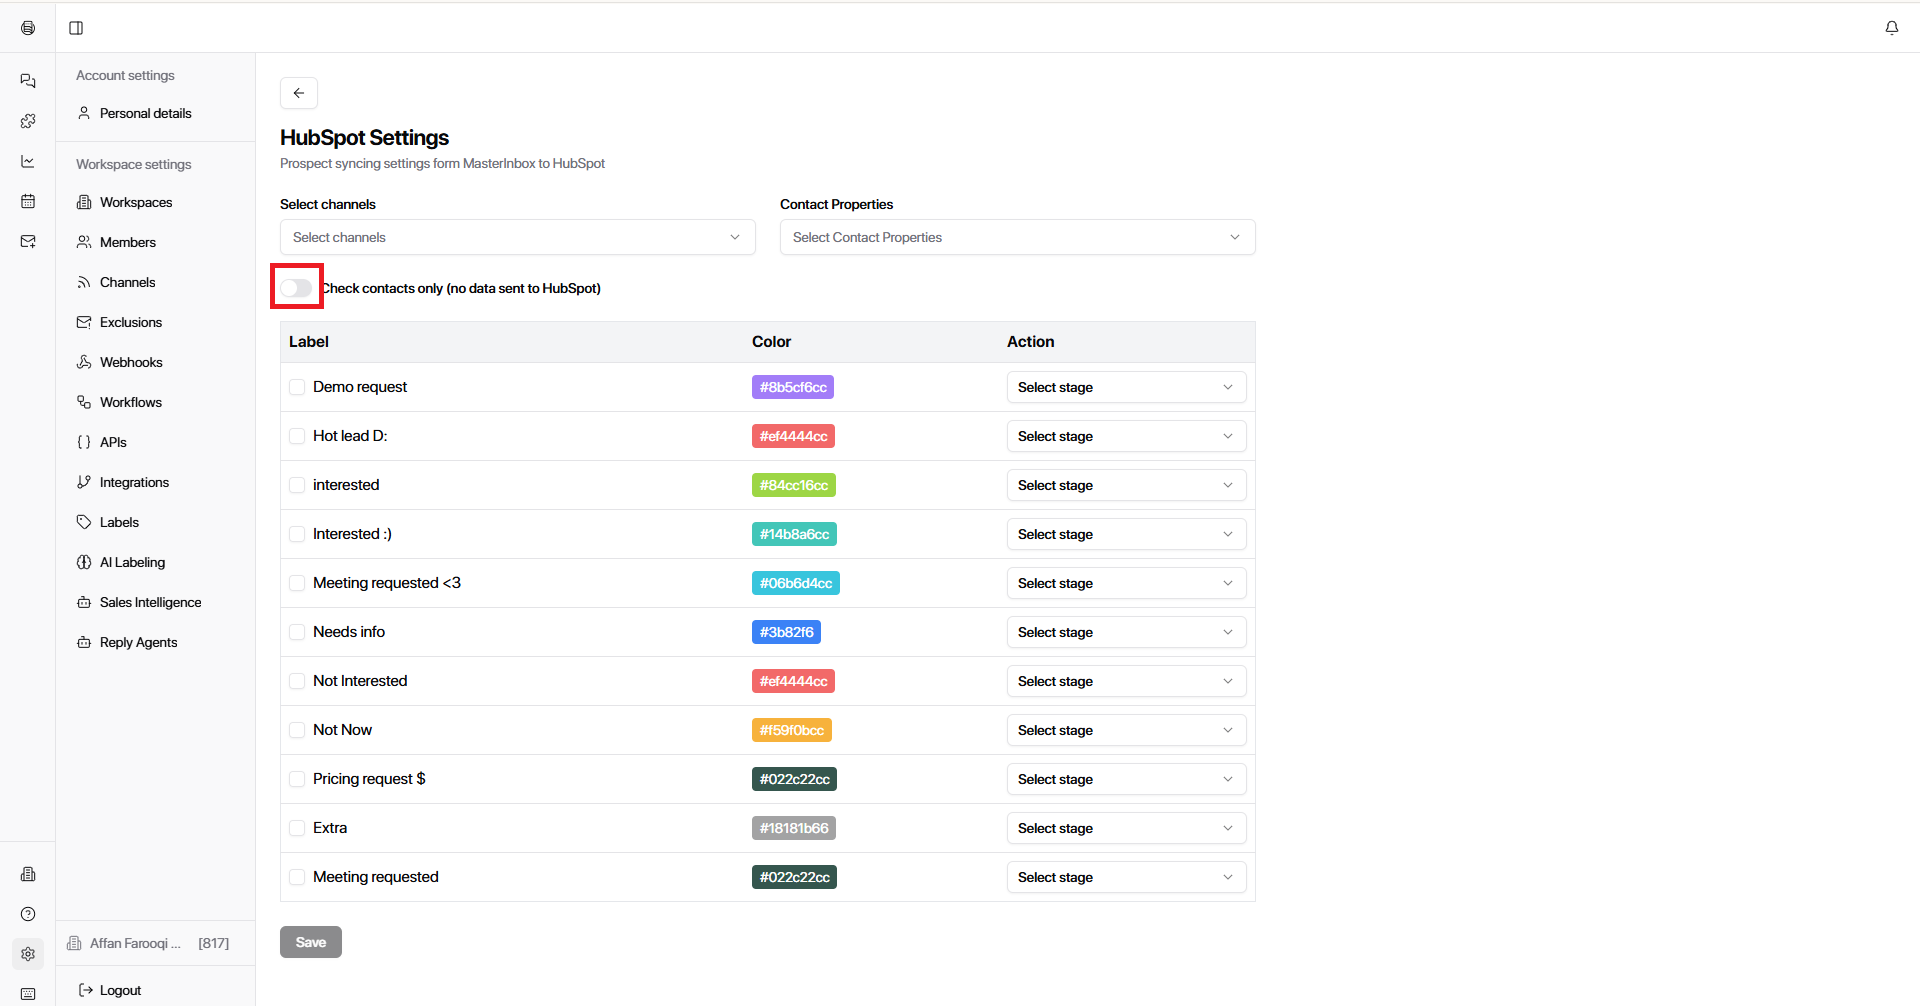
5.3 Check Contacts Only Mode
You will see a toggle called:
Check Contacts Only (No data sent to HubSpot)
When enabled:
MasterInbox only verifies existing HubSpot contacts
No updates or new data will be pushed into HubSpot
Useful for testing or read-only verification setups
What this is used for:
This mode is mainly for teams who want to:
Validate contact matching
Avoid accidental CRM updates
Test integration before going live
5.4 Labels → CRM Behavior Mapping (Legacy Concept Simplified)
In earlier versions, labels were used to represent events like opens or clicks.
Now, labels are used more intelligently as workflow signals inside HubSpot.
You can map MasterInbox labels to CRM actions such as:
New lead
In progress
Open deal
Qualified contact
Attendee / engaged prospect
Instead of tracking activity manually, this system helps automatically reflect sales stage movement inside HubSpot.
5.5 Save Configuration
Once everything is configured, click:
Save
Your HubSpot integration will now be fully active and syncing based on your selected configuration.
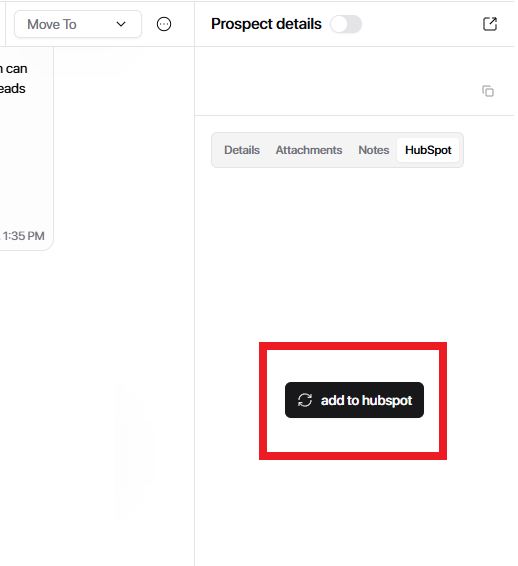
HubSpot Tab in Prospect Details
You can manage HubSpot directly from any prospect inside your inbox.
How to access it:
Go to your Inbox
Open any prospect
Click the three dots (⋯) - Prospect Details
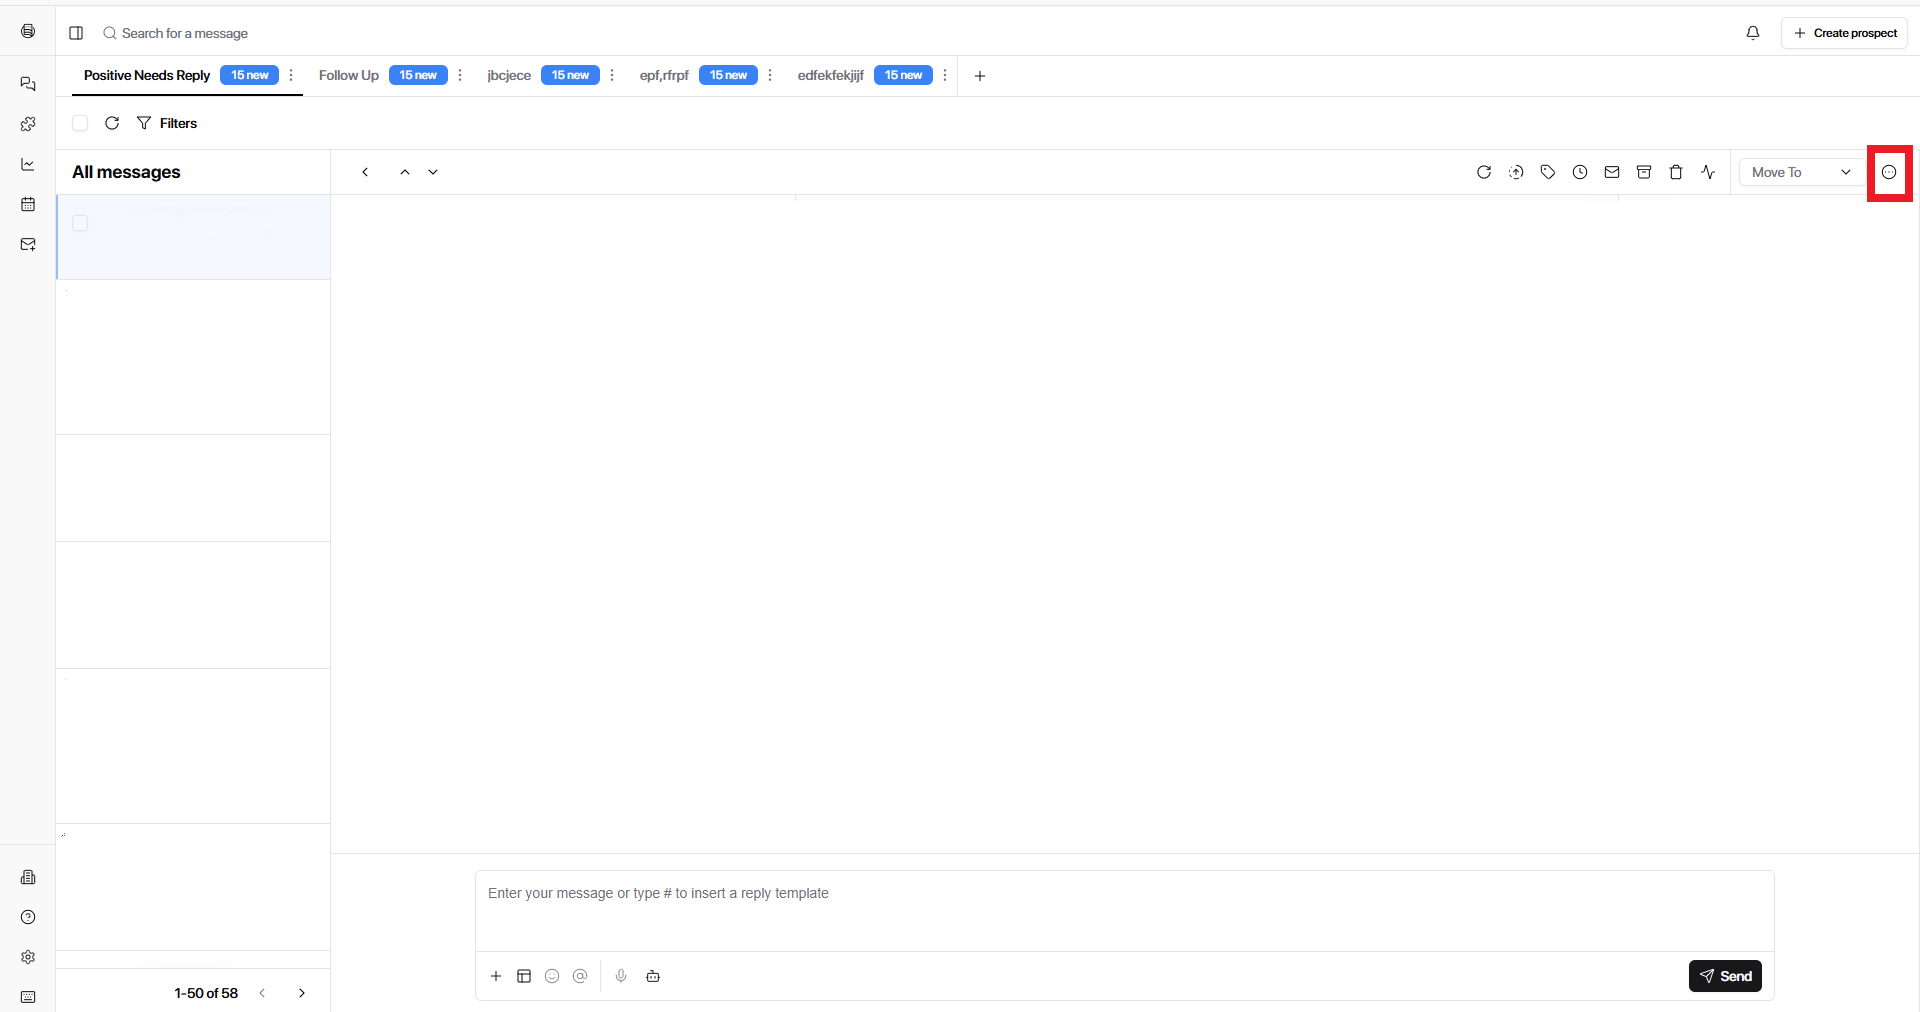
Go to the HubSpot tab
Click Add to HubSpot
What happens when you do this:
The prospect is created or linked in HubSpot
Contact data is synced based on your integration settings
You can then manage and update the contact directly from MasterInbox