GoHighLevel Integration
In this guide, you'll learn how to connect GoHighLevel to Master Inbox, including how to find your Location ID, generate your API key, configure sync settings, and set up channel and label mapping.
Step 1 — Open the GoHighLevel Integration
Go to Settings in Master Inbox and click on Integrations.
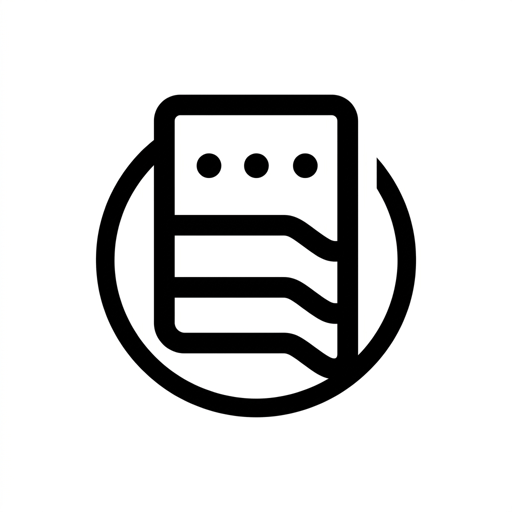
Find GoHighLevel in the list and click Setup.
You will see two fields: API Key and Location ID.
Step 2 — Get Your API Key and Location ID
Get Your API Key
The API key authenticates requests between Master Inbox and GoHighLevel. You'll need to create a private integration in GoHighLevel to generate this token.
Log into your GoHighLevel account.
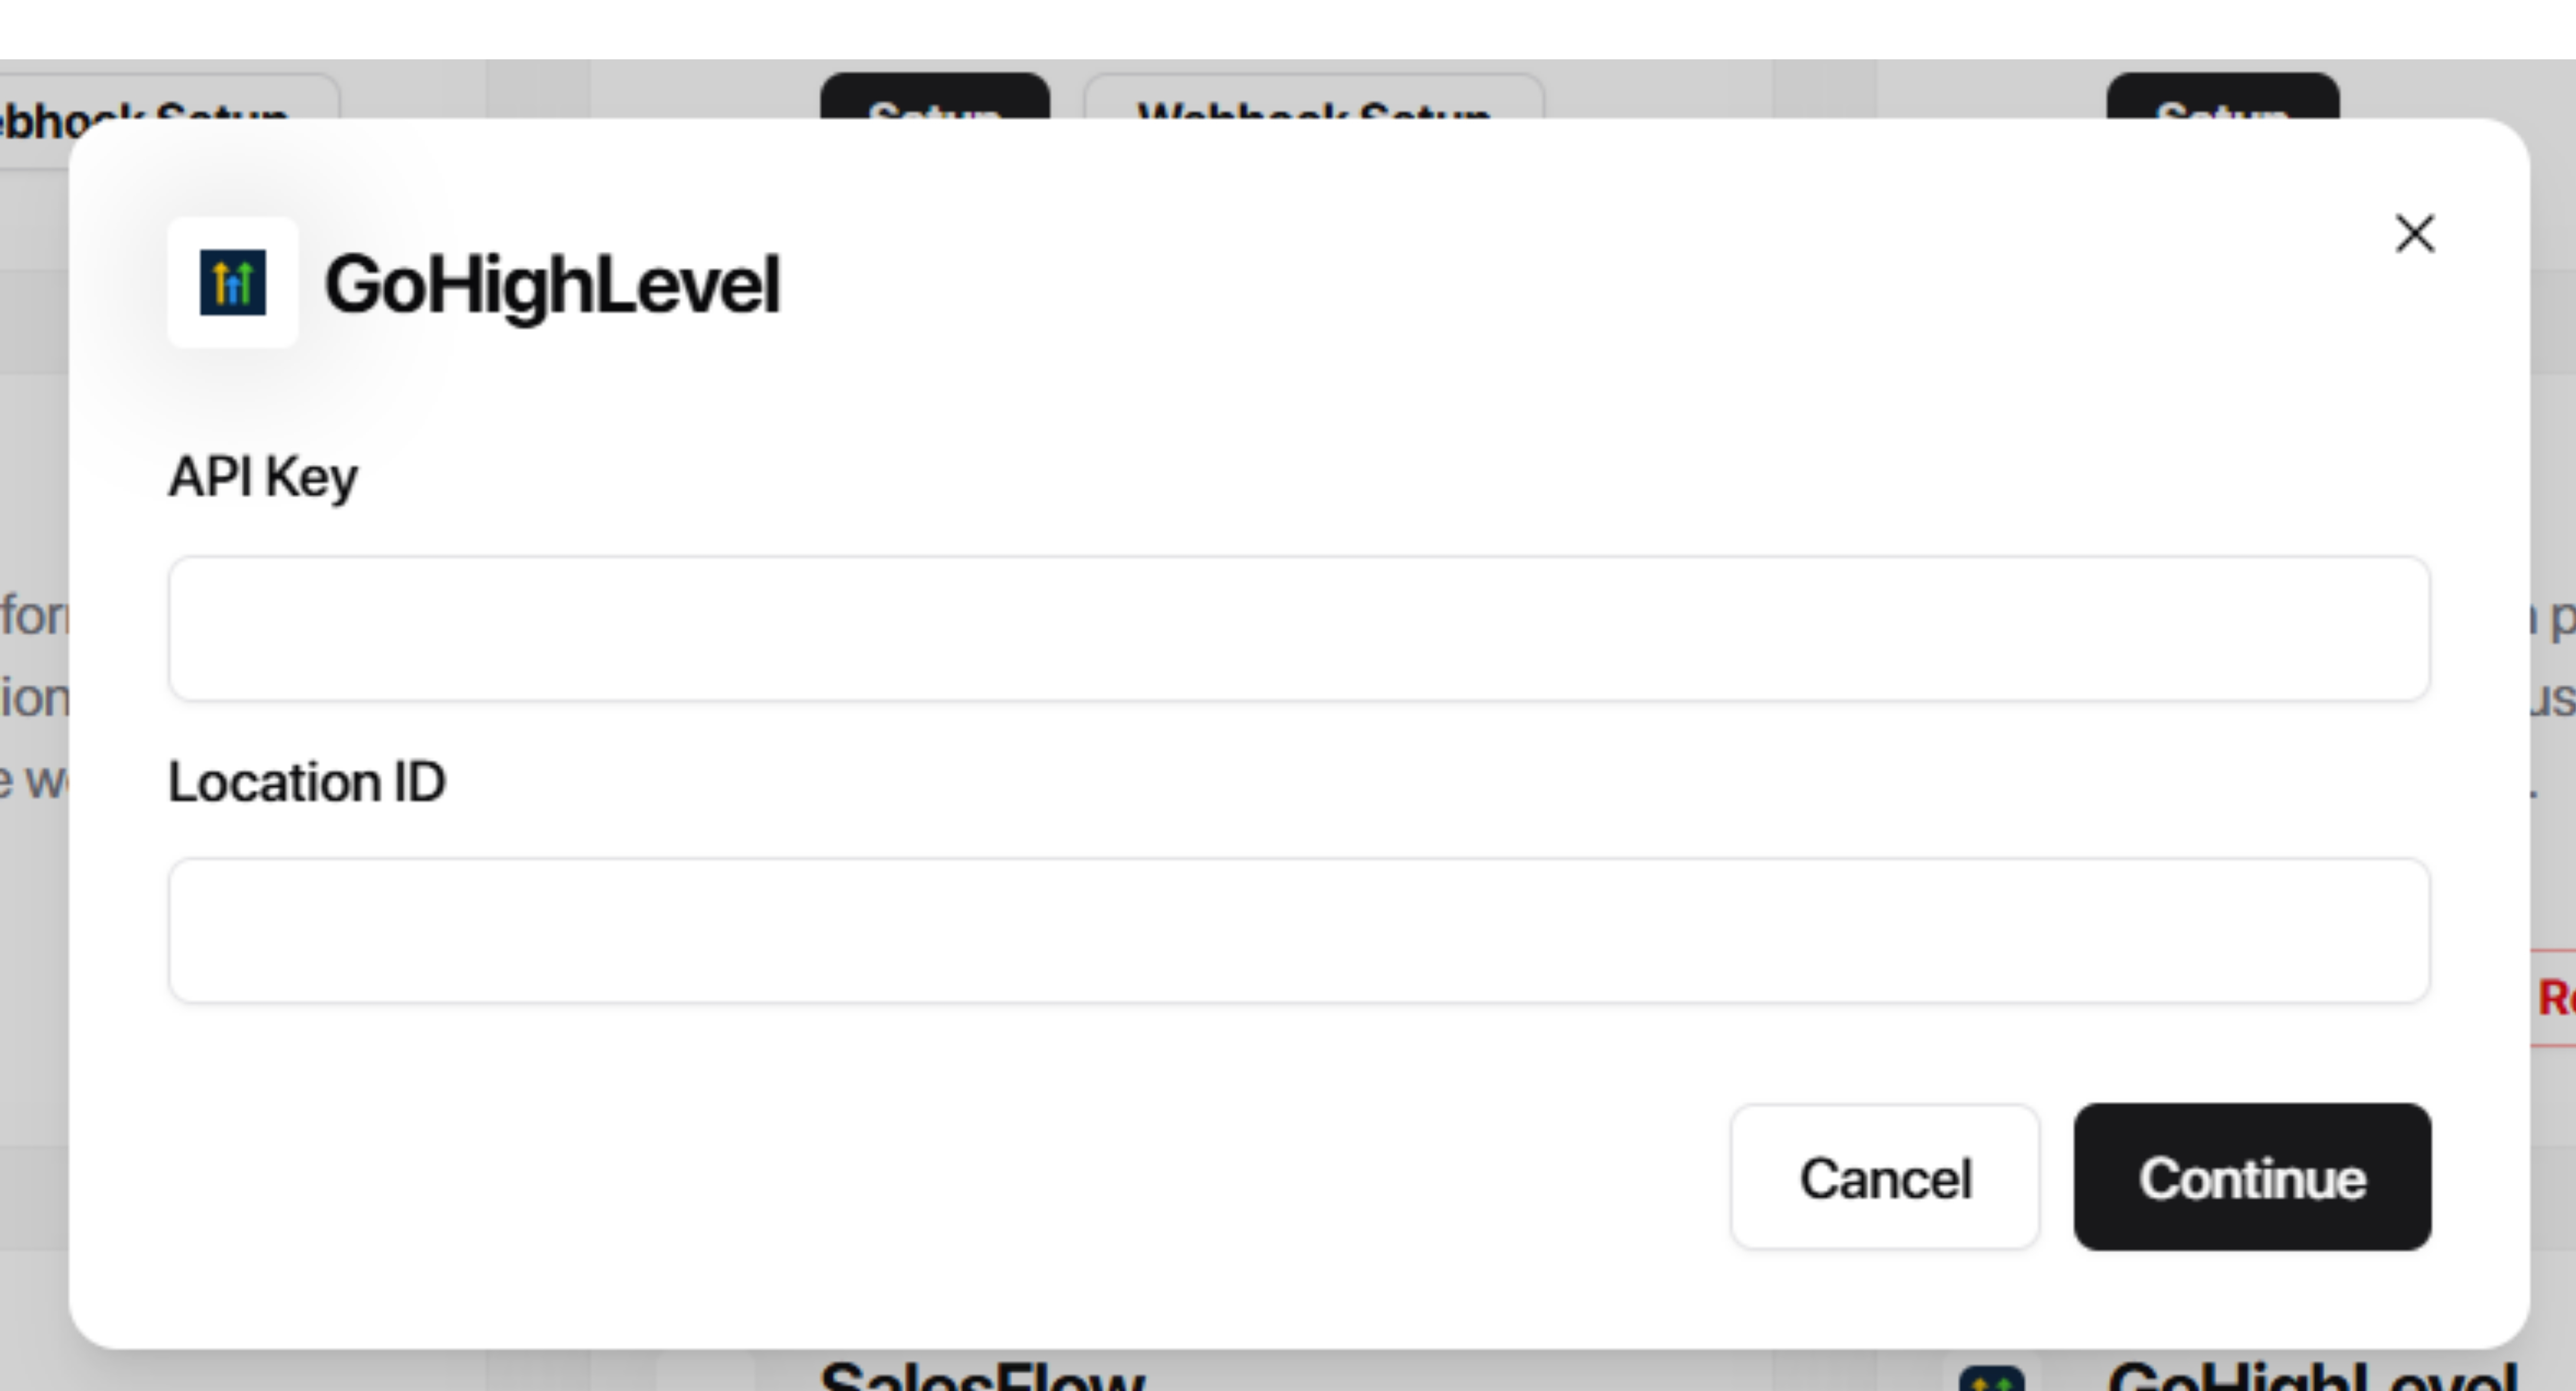
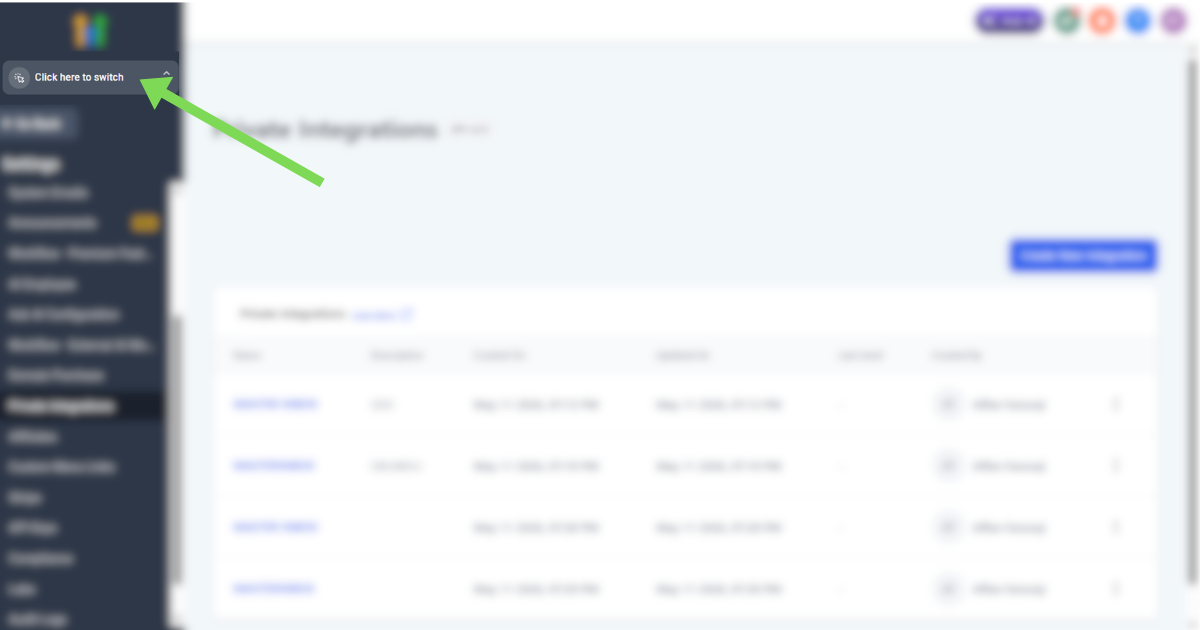
Click Settings at the bottom of the left sidebar, then open Private Integrations.
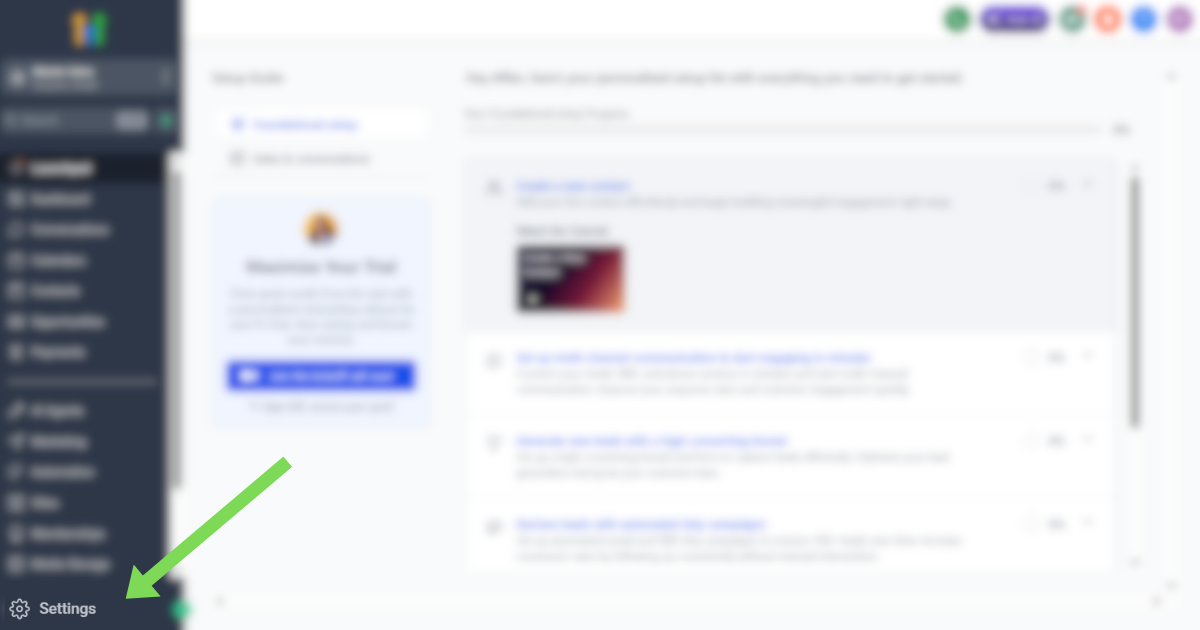

Click Create new integration (or open an existing one if you've already created it).
Add a name for your integration, then click Create.
After creation, you'll see a token that looks like:
PIT-270xxxxxxxxxxxx996aClick Copy to copy the token.
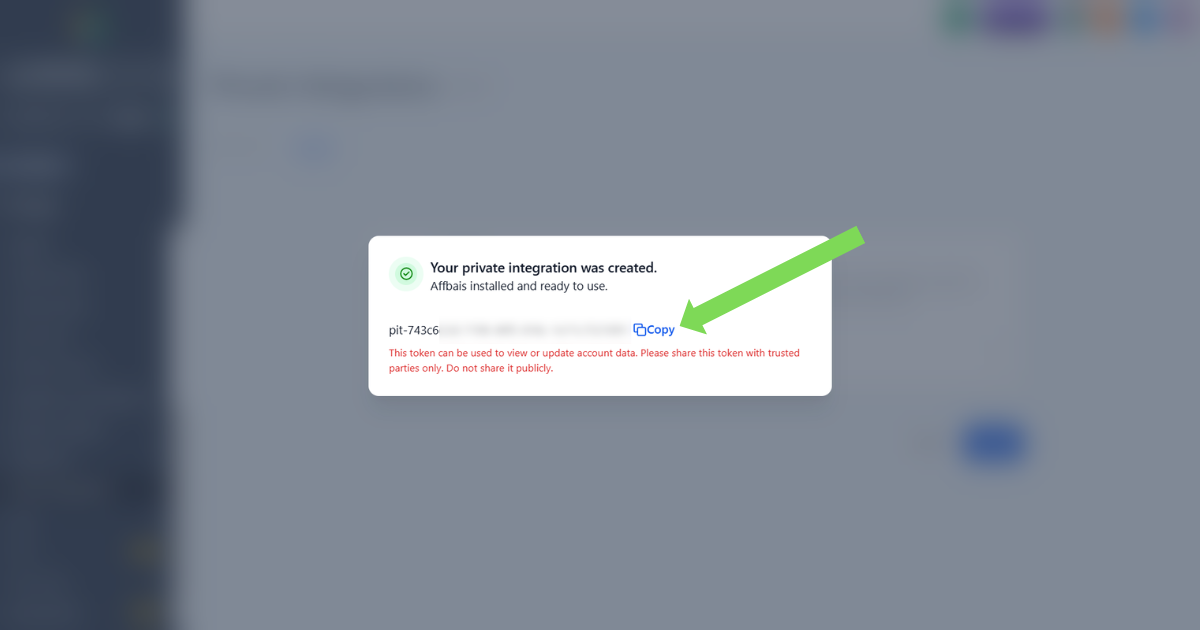
This token can access your account data. Share it only with trusted parties and never post it publicly.
Get Your Location ID
The Location ID identifies the specific GoHighLevel sub-account you want to connect to Master Inbox.
Open the sub-account (location) you want to integrate.
Look at the URL in your browser. You will see something like:
https://app.gohighlevel.com/v2/location/ve9EPM428h8vShlRW1KT/...Copy the value that appears after /location/
Example: ve9EPM428h8vShlRW1KT
That value is your Location ID. Copy it exactly as it appears in the URL, no extra characters.
Make sure the API key has full permissions enabled. A key with limited permissions will cause the integration to fail or sync incorrectly. Verify this in your GoHighLevel account before proceeding.
Step 3 — Enter Your Credentials in Master Inbox
Paste your API Key into the API Key field.
Paste your Location ID into the Location ID field.
Click Continue to proceed.
Step 4 — Configure Sync Settings
After successfully connecting GoHighLevel using the API Key and Location ID, the next step is to control how prospects and conversations are synced between Master Inbox and GoHighLevel.
This section defines how incoming and outgoing conversations are managed and stored in GoHighLevel.
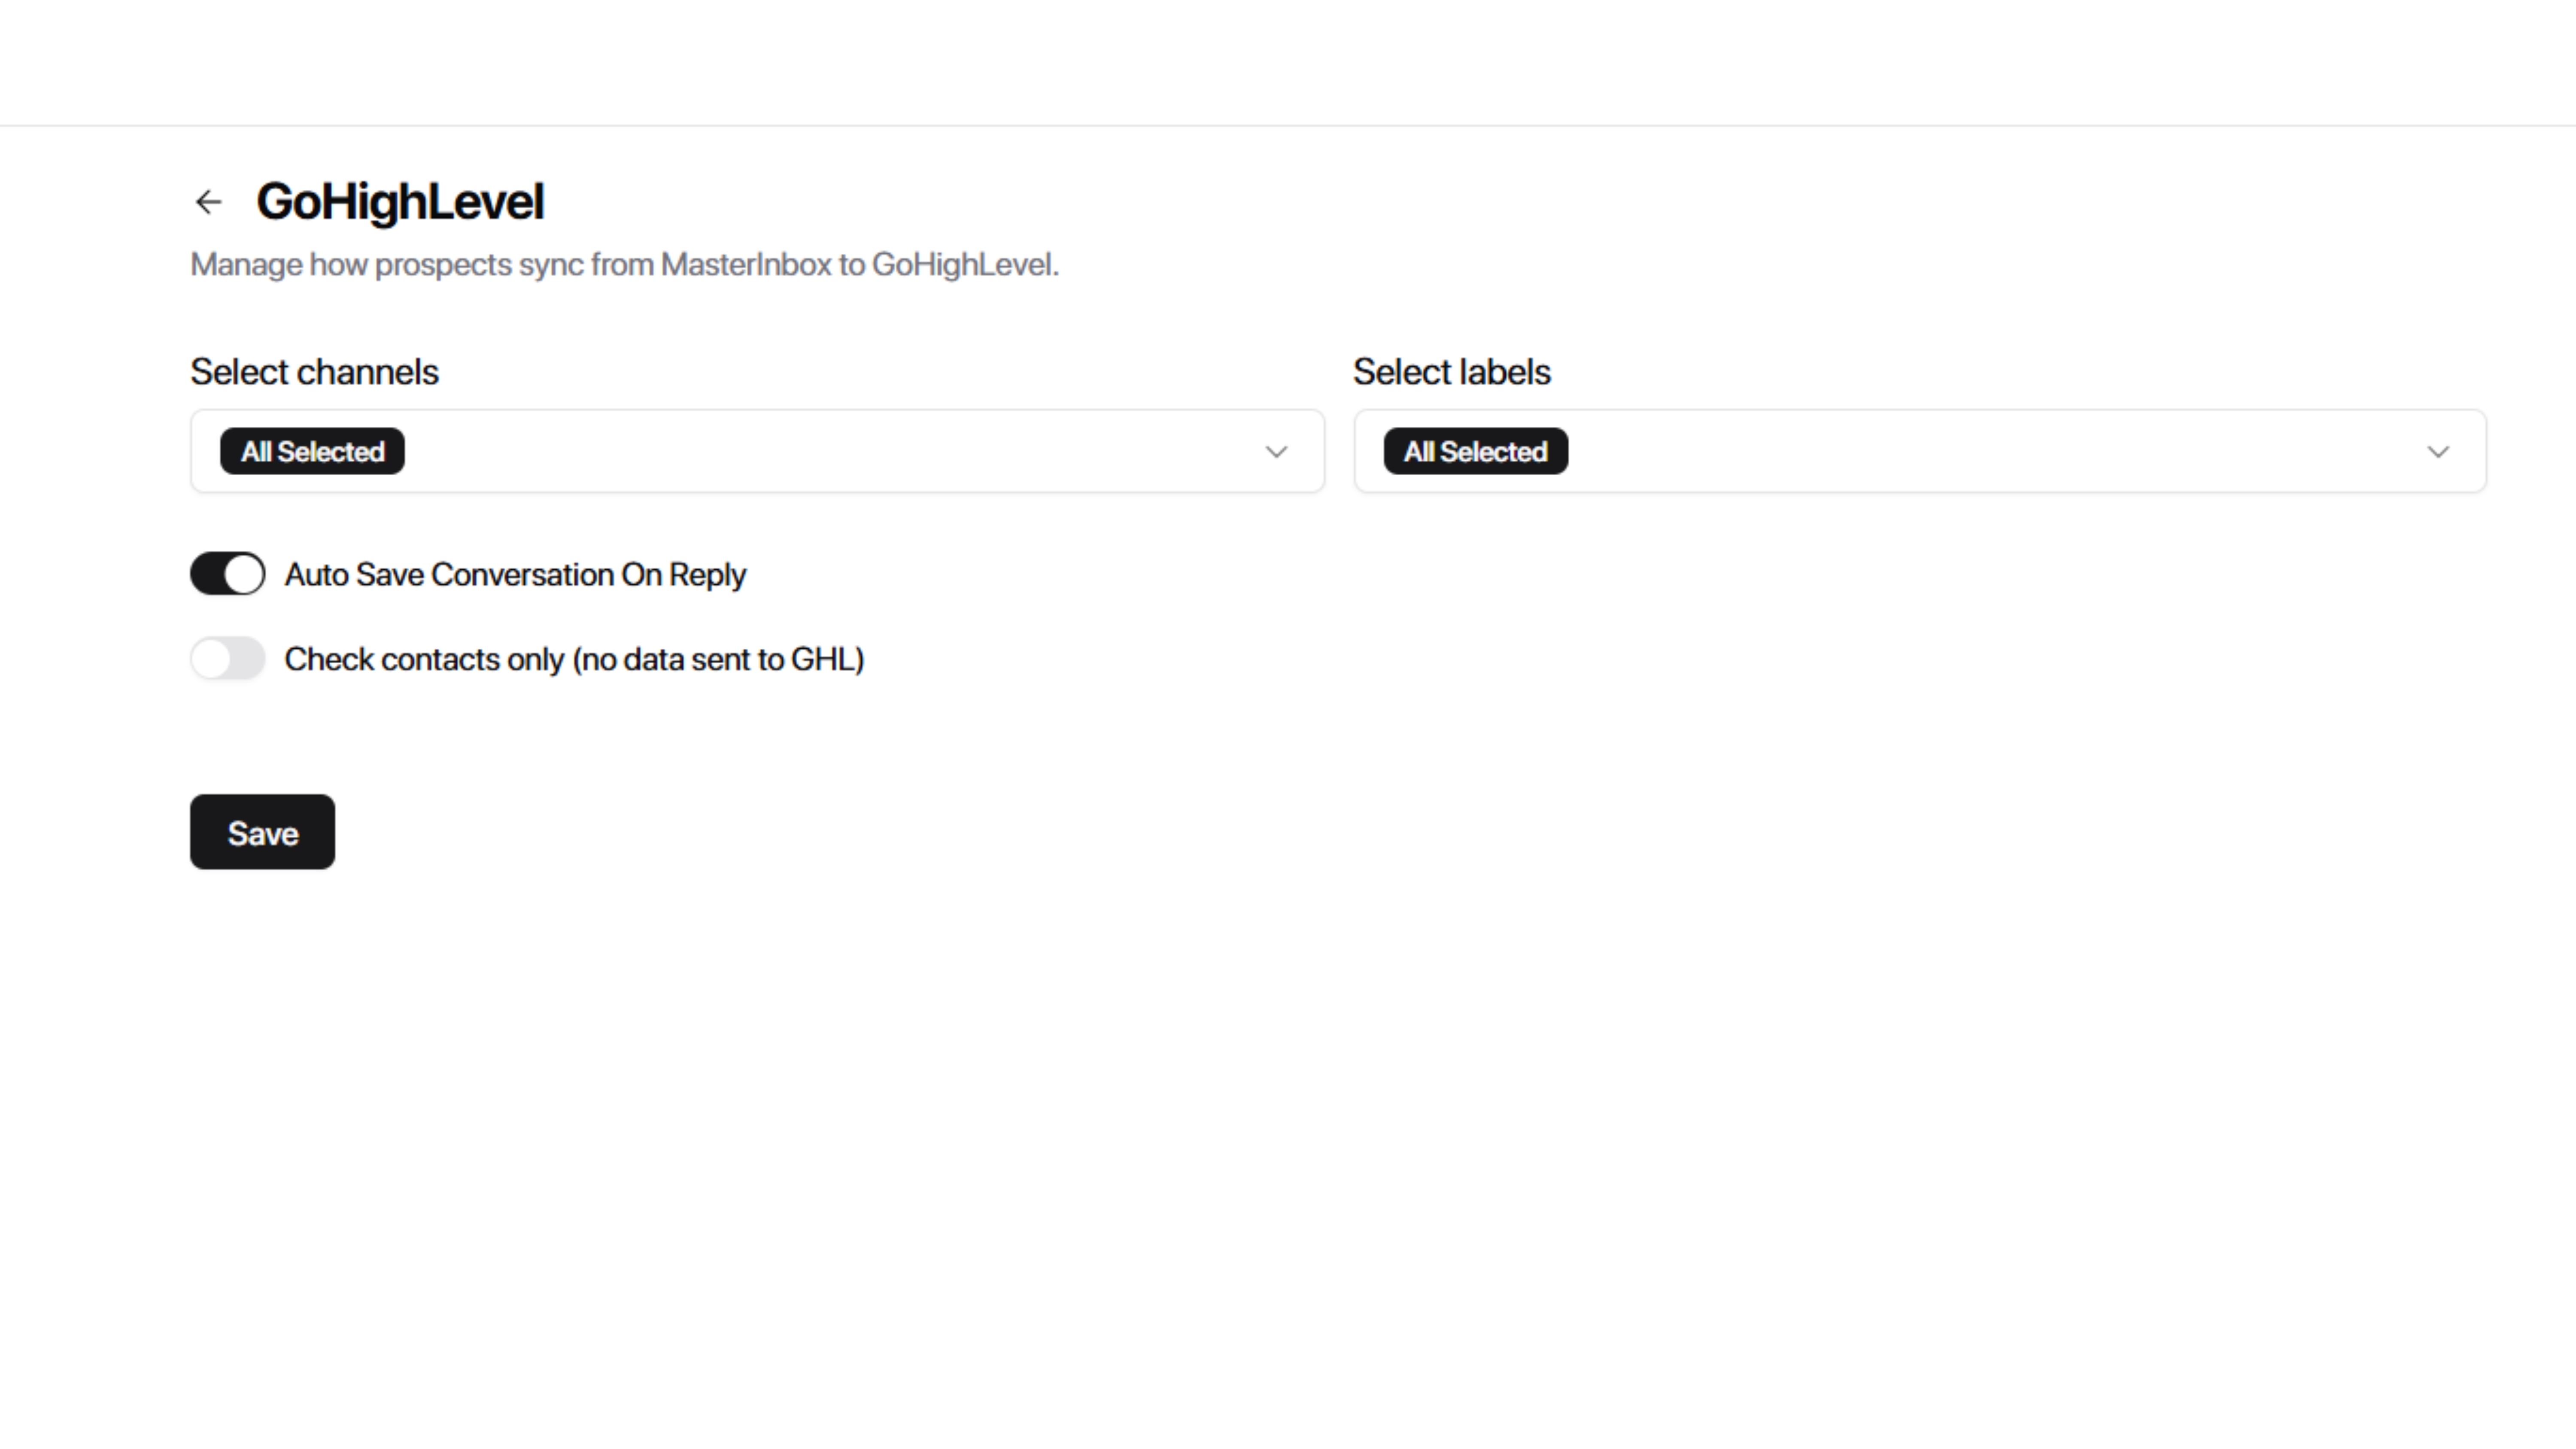
Select Channel and Labels
Before enabling sync behavior, configure the following:
Channel — Choose the communication channel.
Labels — Assign relevant labels.
These settings help structure how conversations are categorized and stored.
Sync Toggles
Auto-Save Conversation on Reply
When toggled ON, conversations are automatically saved to GoHighLevel when a prospect replies. This keeps your GHL contact records updated in real time without any manual action.
Check Contacts Only (No Data Sent to GHL)
When toggled ON, Master Inbox checks whether a contact exists in GoHighLevel but does not send any data to GHL. Use this when you want to verify contact records without pushing conversation data across.
Step 5 — Save and Complete
Once all settings and toggles are configured, click Save to complete the integration.
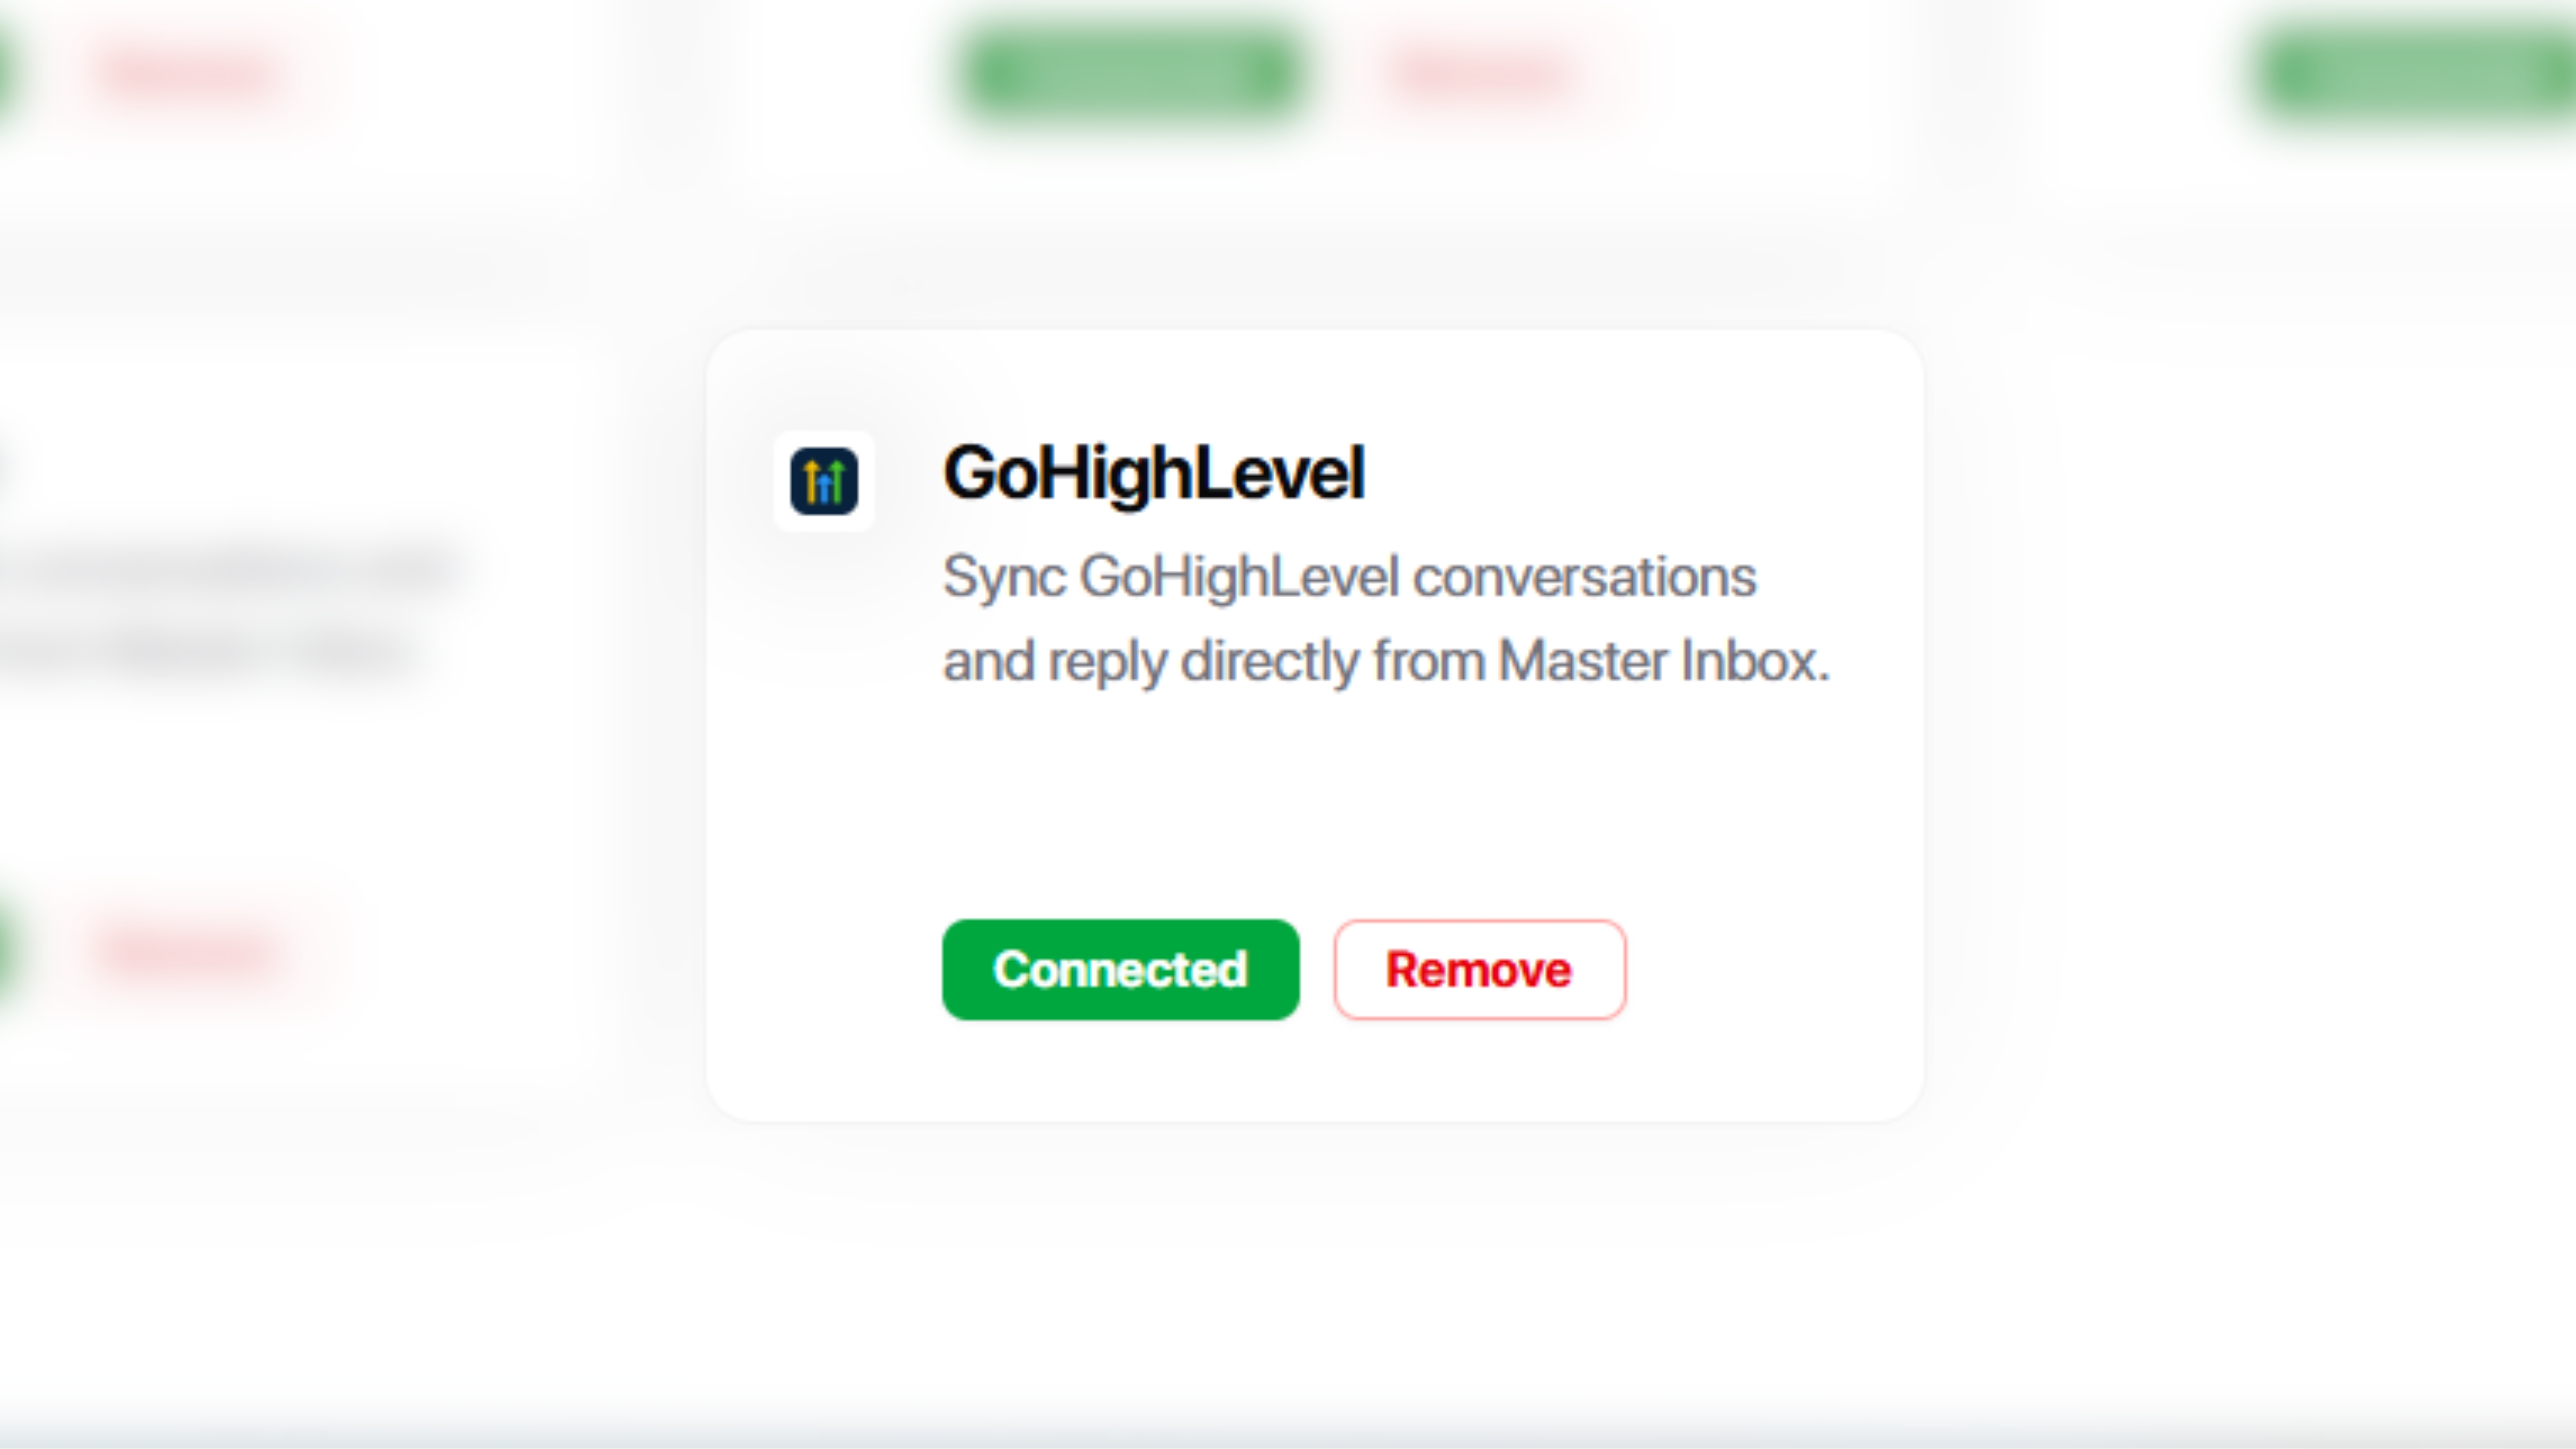
Your GoHighLevel account is now connected. Prospect data, conversations, and labels will sync from Master Inbox into GoHighLevel automatically based on the channels and labels you configured.