How To Manage Exclusions
In this guide, you'll learn what exclusions are, how to add them manually, how to sync them automatically through integrations, and how to copy them across workspaces, so warm-up emails and noise never pollute your inbox.
What are Exclusions?
Exclusions help you filter out warm-up, noise, or irrelevant emails from your inbox. By adding exclusion keywords or codes, MasterInbox ensures these emails don’t clutter your workspace and only relevant conversations surface.
Warm-up emails are automatically generated messages used to build sender reputation. They're not real prospect replies, but without exclusions, they land in your inbox alongside real conversations and create noise that can trigger automations, pollute filters, and confuse your team.
Without Exclusions Warm-up emails and noise appear alongside real replies. Filters and automations fire on irrelevant messages. Your inbox becomes unreliable.
With Exclusions Warm-up codes and noise tags are filtered out automatically. Only real prospect replies appear in your inbox. Filters and automations work correctly.
How Exclusions Work
MasterInbox uses exclusion rules (keywords, tags, or codes) to automatically filter incoming emails.
You can manage exclusions in two ways:
Manual setup (Settings → Exclusions)
Automatic sync via integrations (SmartLead, Instantly, Emailbison, etc.)
Add Exclusions Manually
Go to Settings and click on Exclusions.
Here you can:
Add warm-up phrases, keywords, or exclusion codes
Paste multiple entries at once
Edit or remove existing exclusions
Paste or type down your exclusion codes or keywords into the exclusions field.
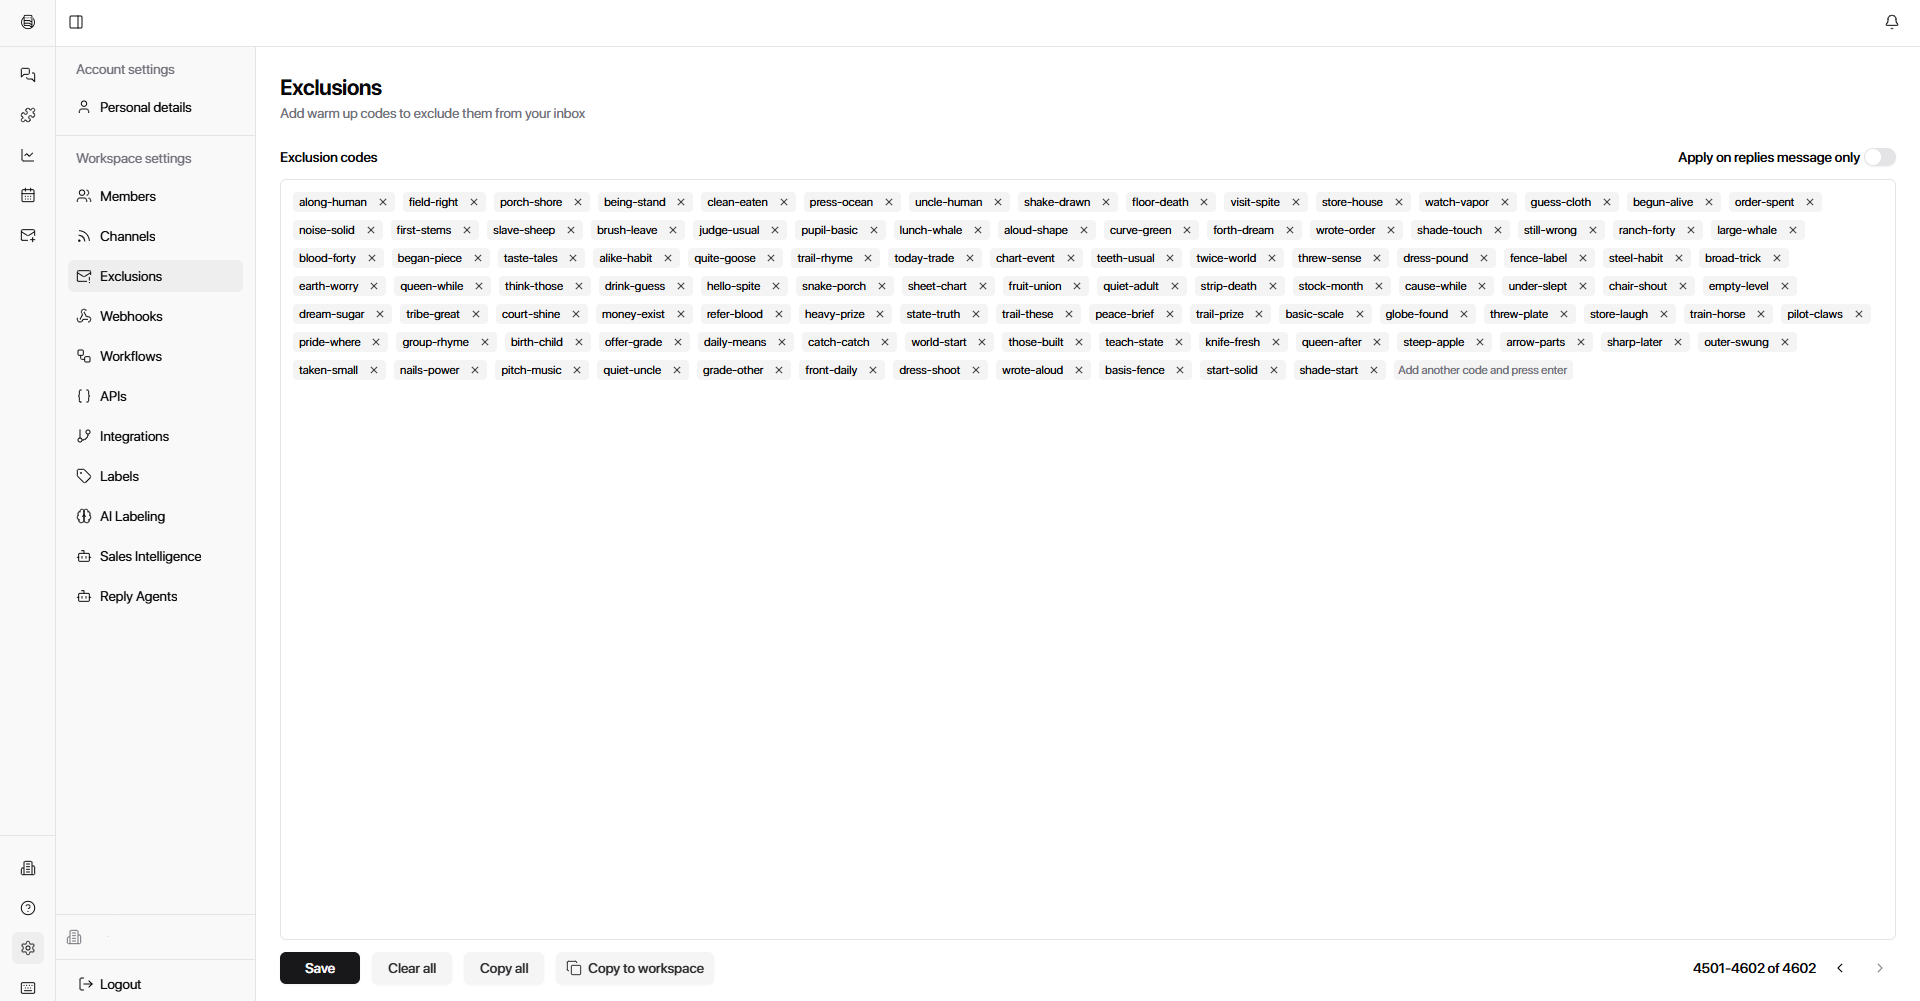
Save your changes.
Check your outreach tool's settings or documentation to find the exact warm-up codes or tags it uses. These are usually a string of random characters or letters attached to warm-up email subjects, copy them exactly as they appear.
Copying Exclusions to Another Workspace
If you manage multiple workspaces, you can copy your exclusion list across without rebuilding it manually.
Go to Settings → Exclusions.
Click Copy to Workspaces. A page will open showing your available workspaces.
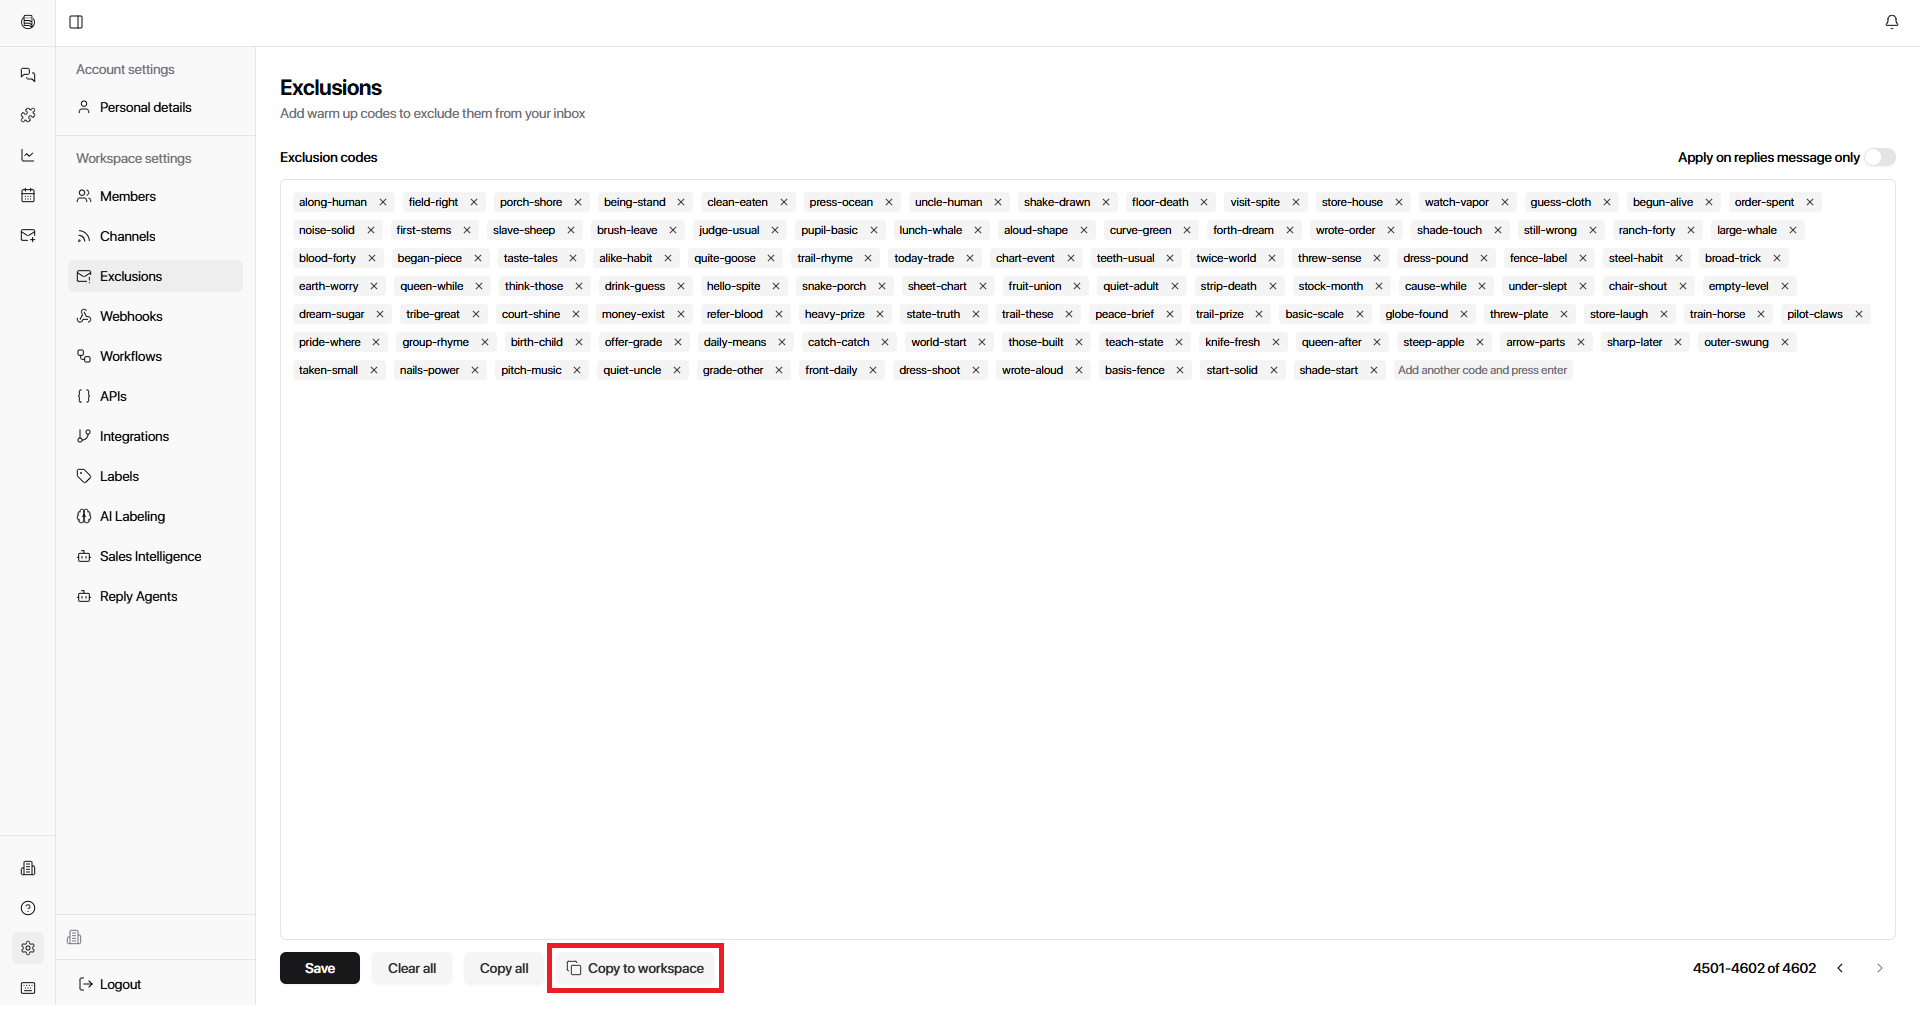

Select the workspaces you want to copy the exclusions to.
Confirm. The exclusions transfer instantly
When copying exclusions:
The destination workspace does not replace existing rules
Instead, it merges with existing exclusions
Merging exclusions may result in duplicate or overlapping rules. Review workspace settings after copying
Merging Exclusions via Integration
When integrating an outreach tool like Smartlead or Instantly, you'll see a Sync Exclusion toggle during the integration setup.
Go to Settings → Integrations.
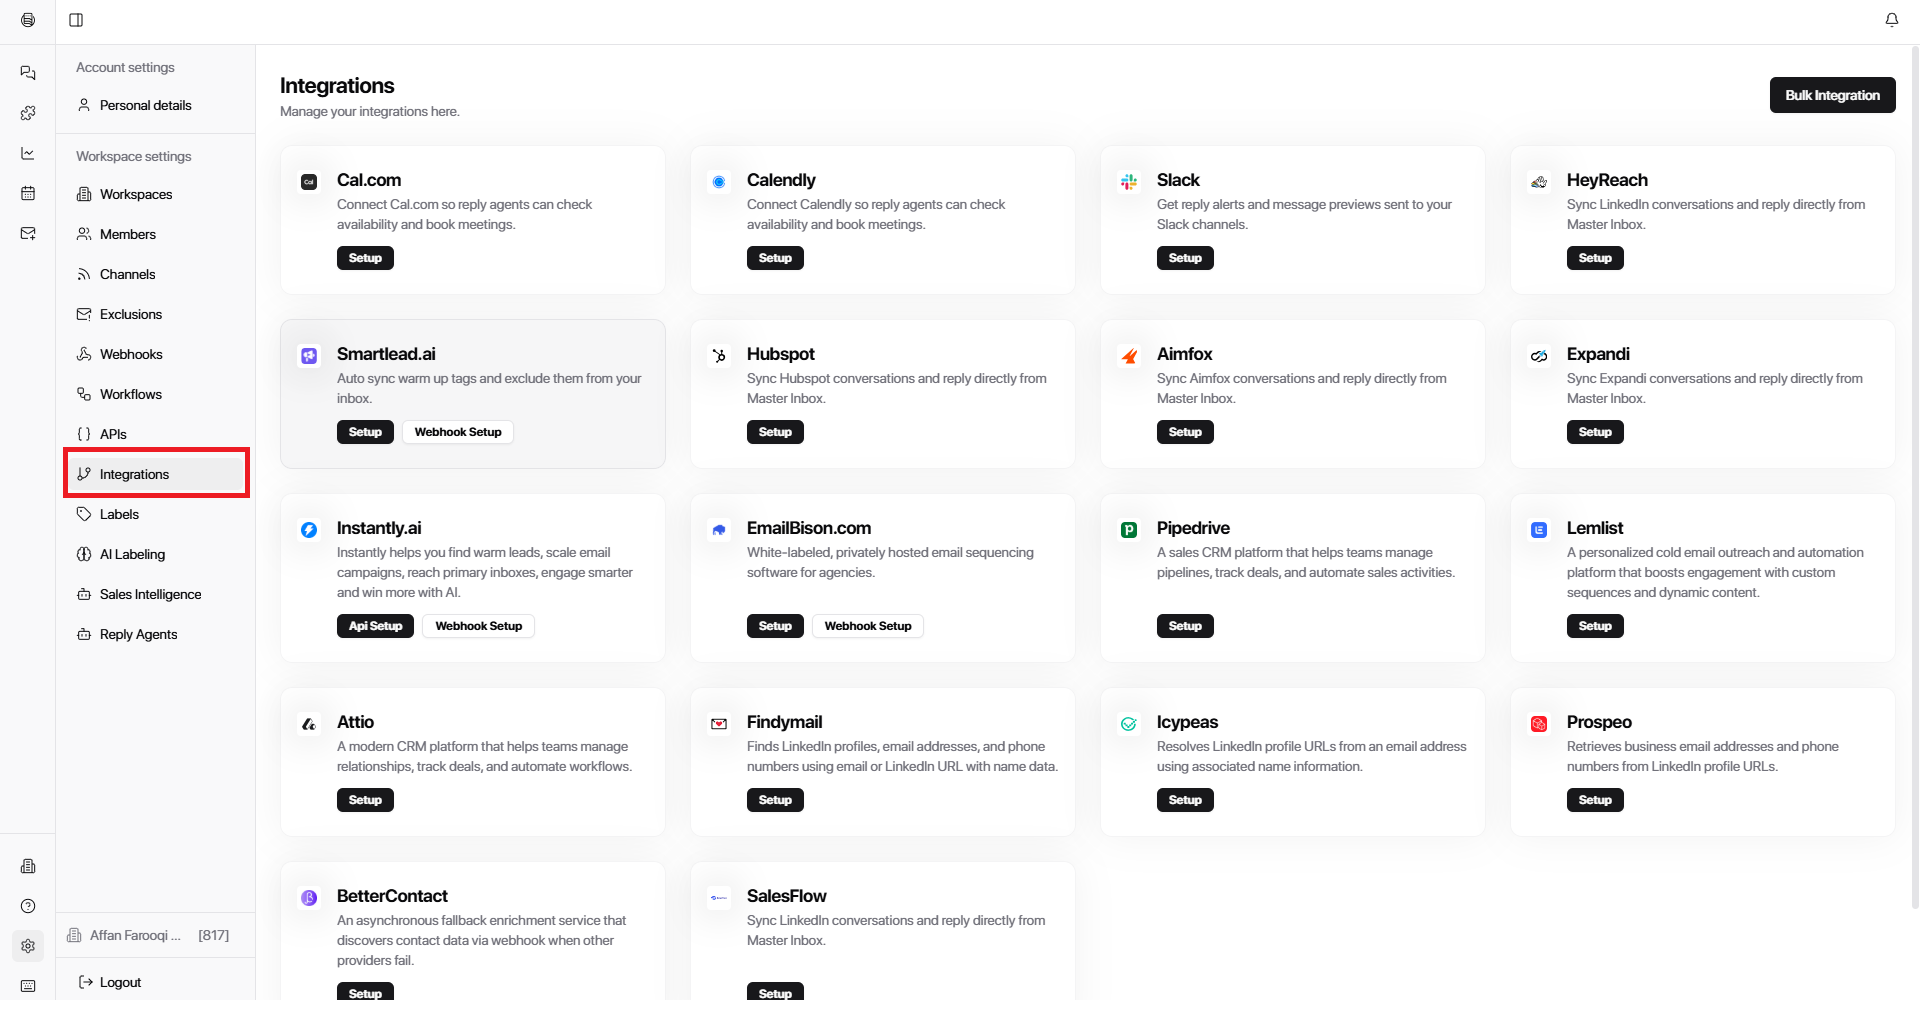
Select your outreach tool (e.g. Smartlead) and enter your API key
Locate the Sync Exclusion toggle.
Turn it ON.
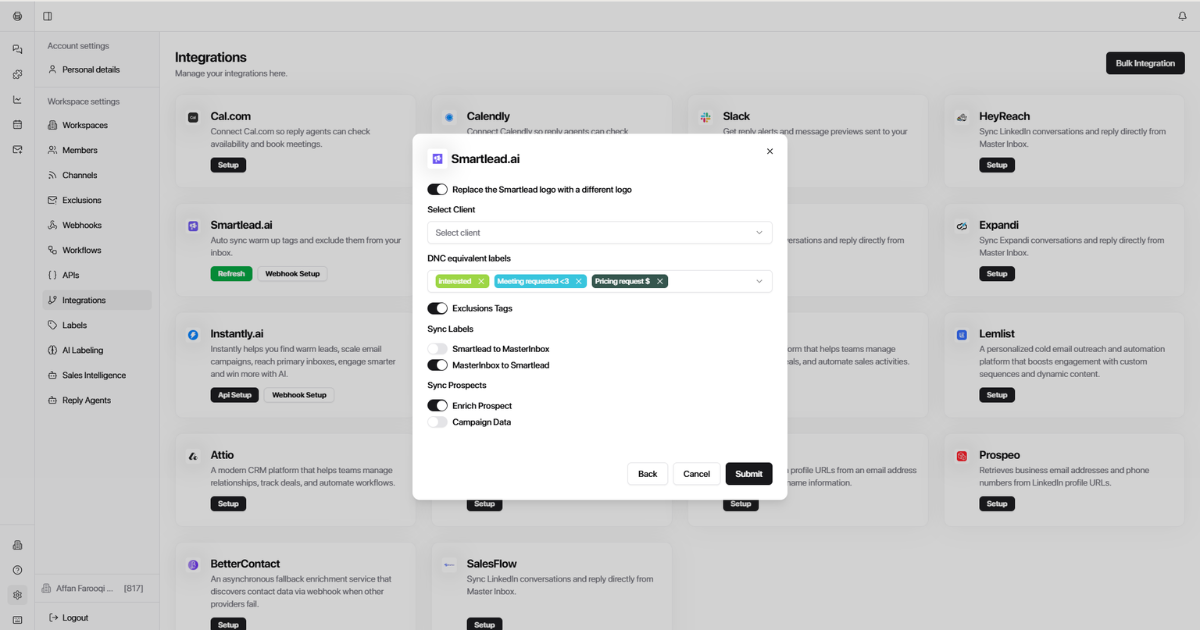
Save. Exclusion tags from your outreach tool will sync into Master Inbox automatically.
Once Sync Exclusion is enabled, any exclusion tags configured in your outreach tool will carry over into Master Inbox automatically, keeping both platforms aligned without manual entry.