Create a Reply Template
What you'll learn
In this guide, you'll learn how to create and organize email templates, insert them while replying, personalize them for context, and use them effectively without sounding robotic.
How to Use Reply Templates While Replying
Reply templates help you reply faster, consistently, and without rewriting the same messages again and again.
Common Use Cases
Partnership replies
Lead qualification
Follow-ups
Client responses
When to Use Templates
You reply to similar questions repeatedly
You want consistent messaging across the team
Speed matters, hot leads, partnerships, client replies
Steps
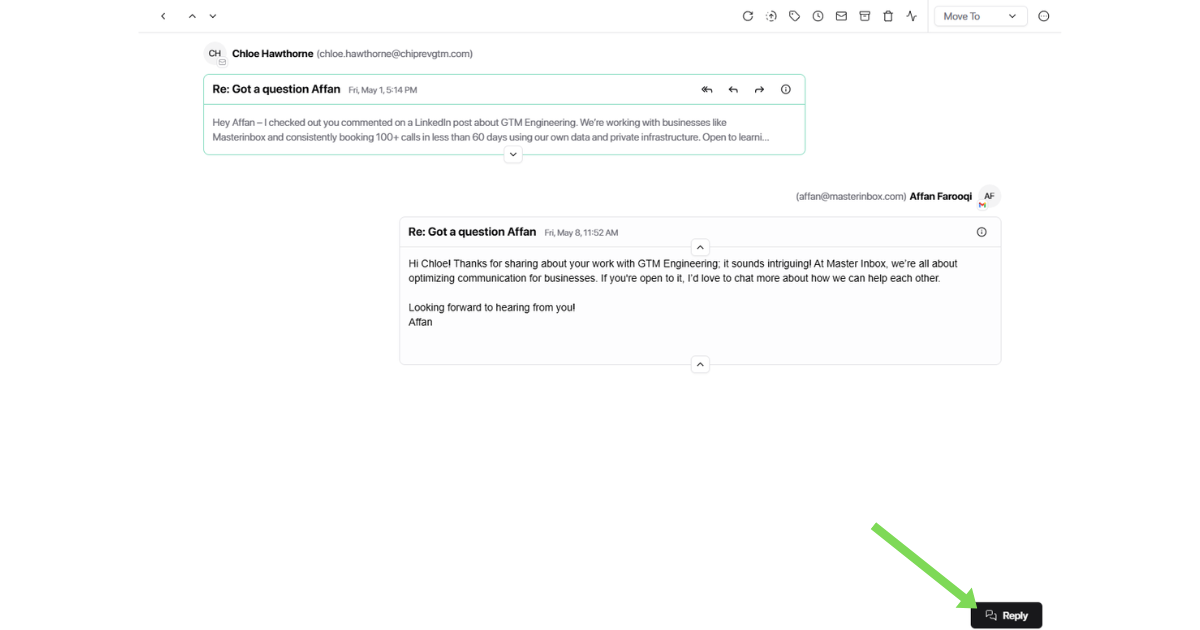
Click on the message you want to reply to from the inbox.
Open the reply editor by clicking the Reply button inside the message view.
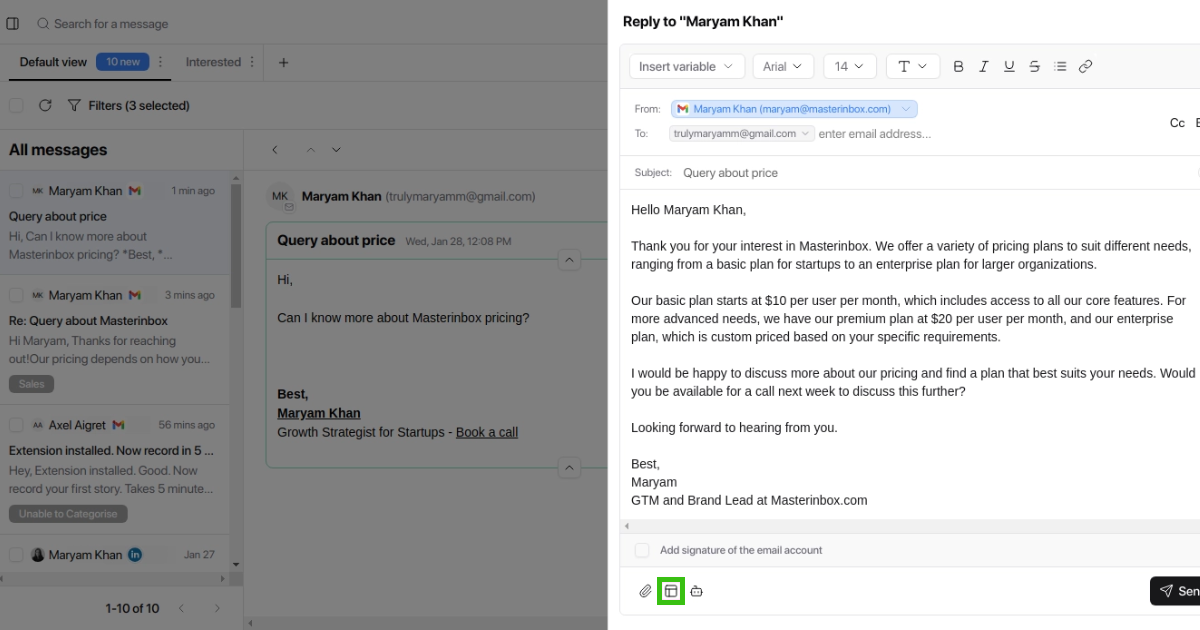
Click the Insert Reply Template icon at the bottom-right of the reply box
or simply type # to open template options.
To create the new template first, click Add Category then name the category based on use case (e.g. Inbound Queries, Partnerships, Pricing, Client Updates).
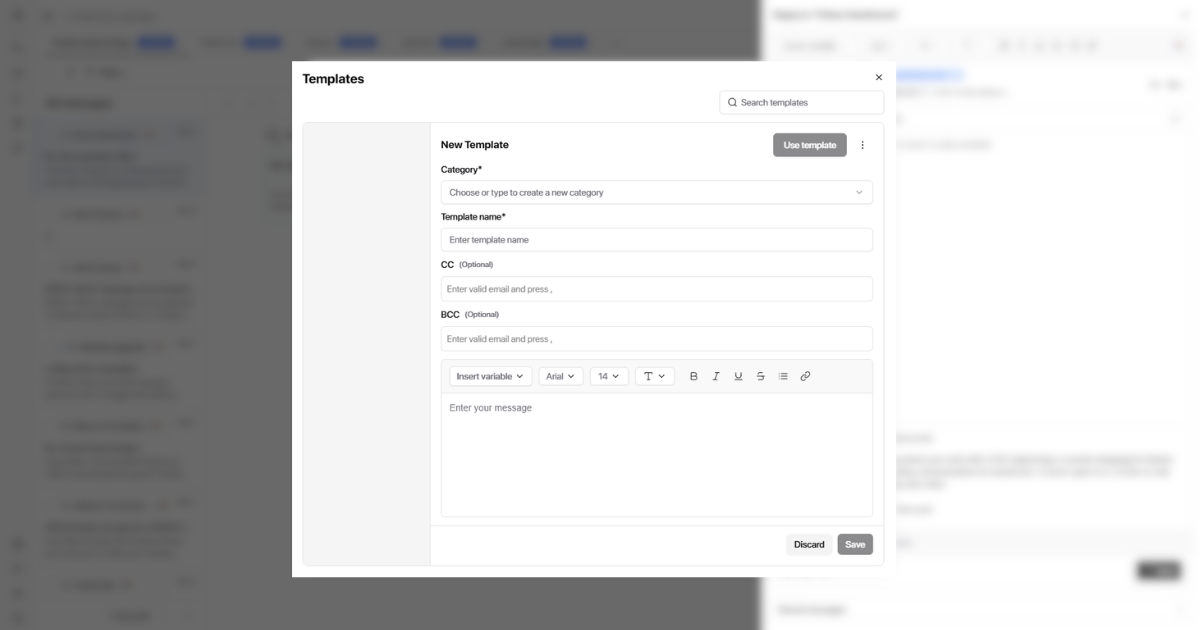
Add a clear, short template name (similar to a subject line), for example:
Short demo nudge
Let's book a demo
Thanks for reaching out
Partnership follow-up
This helps teammates quickly choose the right reply.
Add the email content you want to reuse.
Optional:
Add CC / BCC addresses if needed
Use placeholders for personalization (name, company, context)
Once saved, the template becomes available to everyone with access. Also, you can anytime edit the category, template name and message by simply clicking on the text.
To insert a template; Click Insert Reply Template, or type # in the reply box and select the template. The content will be inserted automatically.
You can always:
Edit the text
Add personalization
Adjust tone based on context
Click Send once you're happy with the reply.
You can edit the category name, template name, and message content at any time by simply clicking on the text. Templates are never locked
Creating Reply Templates in a New Account (No Existing Conversations)
Reply templates are created from the reply interface, which usually requires an existing email thread. If your account is new and you don’t have any conversations yet, you can still create templates using a test (fake) prospect.
Why this is needed
Reply templates are tied to the reply UI inside a conversation thread. That means you need an open email thread to access the “Insert Reply Template” option.
Steps to create templates in a fresh account
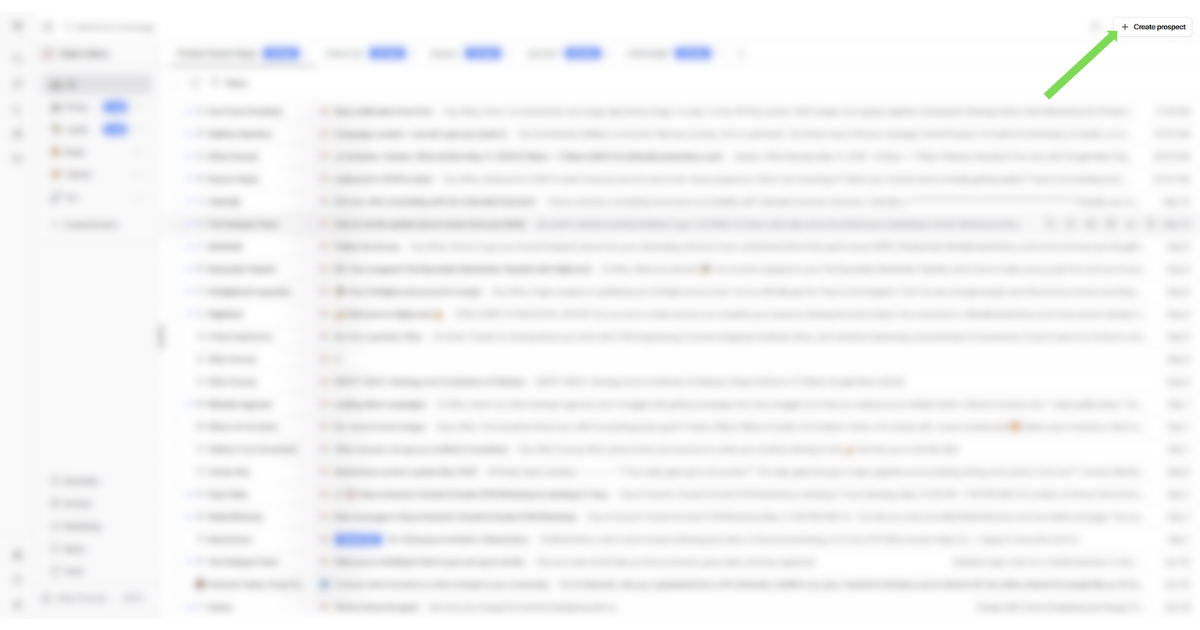
Click Create Prospect in the top-right corner of your inbox and create a test prospect (you can use your own email or a dummy email like [email protected]).
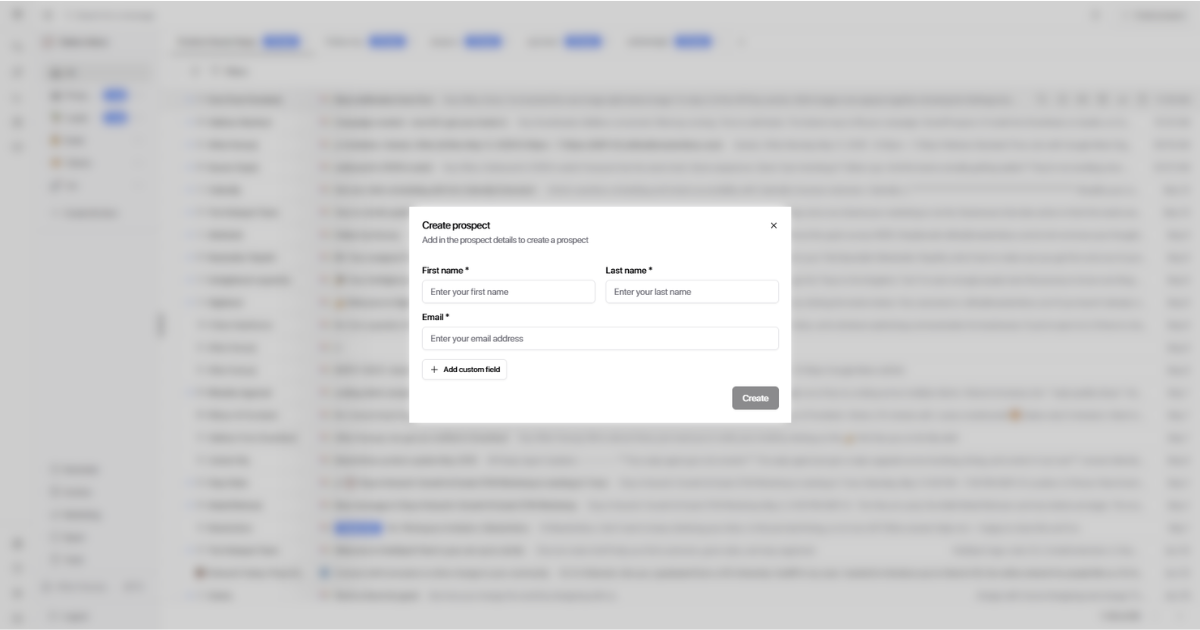
Once the prospect is created, open the newly created empty conversation thread.

Click Reply to open the reply editor.
In the reply box, you will now see:
The Insert Reply Template icon, or
You can type # to open templates
From here, you can:
Create a new reply template
Add categories
Save and organize templates as usual
Personalizing Templates
Templates are starting points — not finished messages. Before sending, you can always:
Edit the body text
Add prospect-specific context
Adjust tone based on the conversation
Best Practices
Do This
Keep templates short and flexible
Use placeholders where names or context vary
Review every template before sending, especially for clients
Name templates clearly so teammates pick the right one fast
Avoid This
Over-personalizing inside the template itself
Sending without reviewing
Using the same template for very different reply scenarios
What Templates Cant Do
Templates don't auto-send replies, don't replace human judgment, and don't lock you into fixed messaging. They simply help you reply faster, a human still reviews and sends every message.
Once saved, your template is instantly available to the whole team. No rewriting from scratch.